
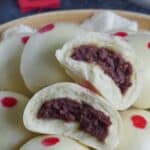
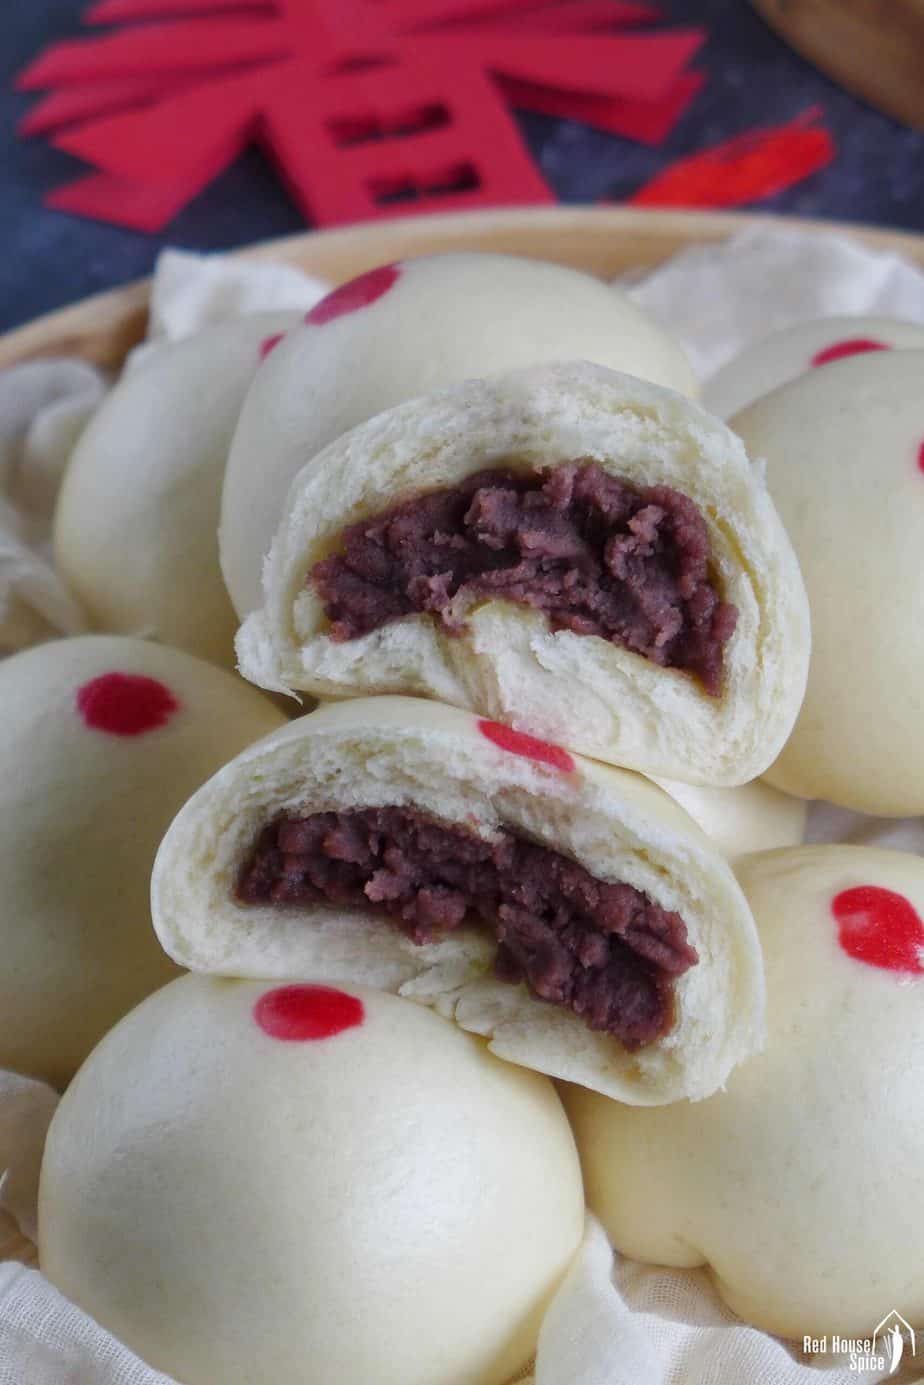
Soft, fluffy steamed buns filled with sweet, creamy red bean paste, Chinese red bean buns taste amazing when made from scratch. This recipe includes many useful tips and a tutorial video.
Pin this now to find it later!
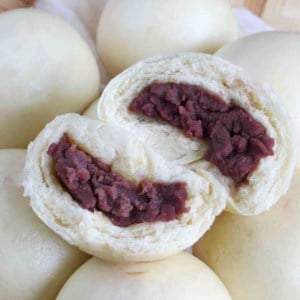
Pin ItWhat are red bean buns
One of the most popular Chinese bao/bun dishes, red bean buns, known as Dou Sha Bao (豆沙包), consists of two delicious components: a leavened dough wrapper that’s pillowy soft and fluffy filled with a creamy, sweet paste made of adzuki beans.
Although they’re enjoyed all year round, as breakfast, snack or dinner staple, for me red bean buns are always associated with Chinese New Year. In northern Chinese households like my family, cooking a big batch of Mantou (plain steam buns) and red bean buns is a ritual of New Year preparation.
I’m very excited to share the recipe for this special treat that always warms my heart and eases my homesickness around this time of year.
Use homemade red bean paste
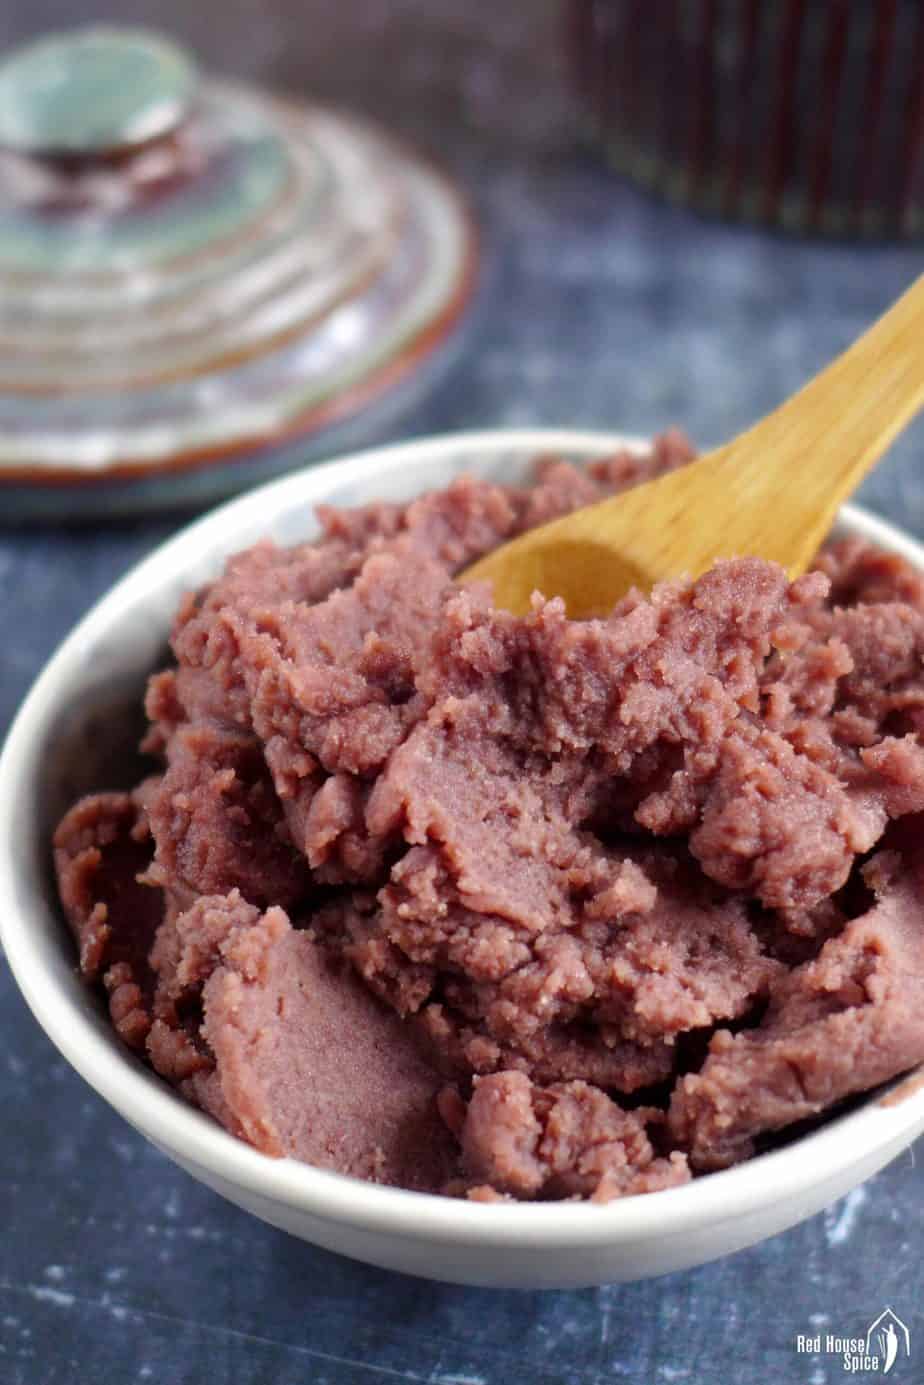
High-quality red bean paste with a balanced taste and a palatable texture really makes your red bean buns stand out. Have you ever made it yourself? If you haven’t, you really should give my recipe a try! It tastes so much better than what you get in a ready-to-eat packet.
What do you need
Red bean paste consists of three ingredients:
- Adzuki beans. A type of small-sized beans (around 5mm) widely used in East Asian cuisine (Spelling variations include azuki beans, aduki beans). They’re also known as red beans (Hong Dou/红豆). You can find them in Chinese/Asian shops or whole food stores. Canned ready-cooked adzuki beans are a great alternative (They are what I use to make Red Bean Popsicles).
- Sugar. I use a combination of regular white sugar and dark brown sugar. The latter offers a nice caramel taste which I appreciate very much.
- Butter or coconut oil. You could make red bean paste without any fat. However, the addition of butter (or coconut oil) takes it to the next level: silky, creamy and flavoursome.
The ingredient ratio that I list in the recipe card (at the end of the post) serves as a guide. Please feel free to adjust the quantity of the sugar and butter(or coconut oil) if you wish.
How to make the paste
To make red bean paste, following these steps:
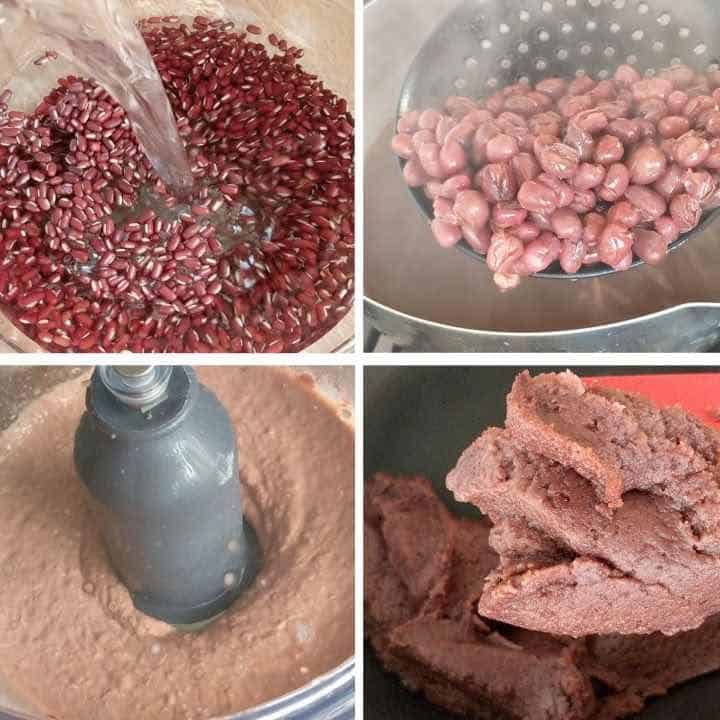
- Cook adzuki beans (pre-soaked overnight) in water until they become soft. Skip this step if using cooked adzuki beans in cans.
- In a blender or food processor, puree the drained beans along with sugar and butter/coconut oil (add a little water to make blending easier if necessary).
- Heat up the puree in a pan to reduce the moisture until it becomes a soft paste.
🛎 Tip: Do not overly dehydrate the paste. Once it holds its shape (but not firm) and its colour darkens, you need to remove it from the heat. It will be firmer once cooled thus manageable when assembling the buns. Check out the desired consistency in the tutorial video (in the recipe card below) for reference.
🛎 Tip: If you don’t have a blender or food processor, you can make rustic, chunky red bean paste manually following my method introduced in the post “Homemade Red Bean Paste, Two Ways“.

A fail-proof dough recipe
I’ve shared quite a few Chinese leavened dough recipes on the blog:
- The traditional, yeast-only dough for Steamed Pork Bun and Sheng Jiang Bao
- The yeast and baking powder dough for Plain Steamed Buns, Scallions Flower Rolls and Pork Belly Buns.
- The extra fluffy yeast and baking powder dough for Char Siu Bao.
You may use any of them to make red bean buns. However, for today’s post, I’ve chosen the third one as I think it’s the most suitable for buns with a sweet filling. The extra fluffiness pairs perfectly with the creamy bean paste.
For making 14 red bean buns, you’ll need:
- 350g all-purpose flour (plain flour). If available, you may also use low gluten special bao flour (available in Chinese stores) or cake flour.
- 2 tsp instant dry yeast. If using active dry yeast, you need to dissolve it in water first then mix with other ingredients due to its larger granules
- 2 tsp baking powder. Please note it can NOT be replaced by baking soda.
- 1 tbsp sugar
- 1.5 tbsp neutral cooking oil
- 180g lukewarm water. It might be necessary to adjust slightly depending on the brand of your flour. The finished dough should be soft but it shouldn’t sticky to hands.
Simply combine all the ingredients and knead until a smooth dough forms. No special technique or lengthy kneading required. You can either make the dough manually or with the aid of a stand mixer.
🛎 Tip: To make hand kneading easier, I suggest you follow this trick: Combine all the ingredients and form a rough-looking dough. Leave to rest for 10 mins then knead again for 1-2 mins. This way you’ll achieve the desired smooth texture without having to knead for a long time.
Unlike the traditional yeast-only recipe, you don’t need to proof the dough before shaping the buns. So once the dough is well-kneaded, move on to the next step straight away.
Assemble the buns with ease
Roll the wrappers
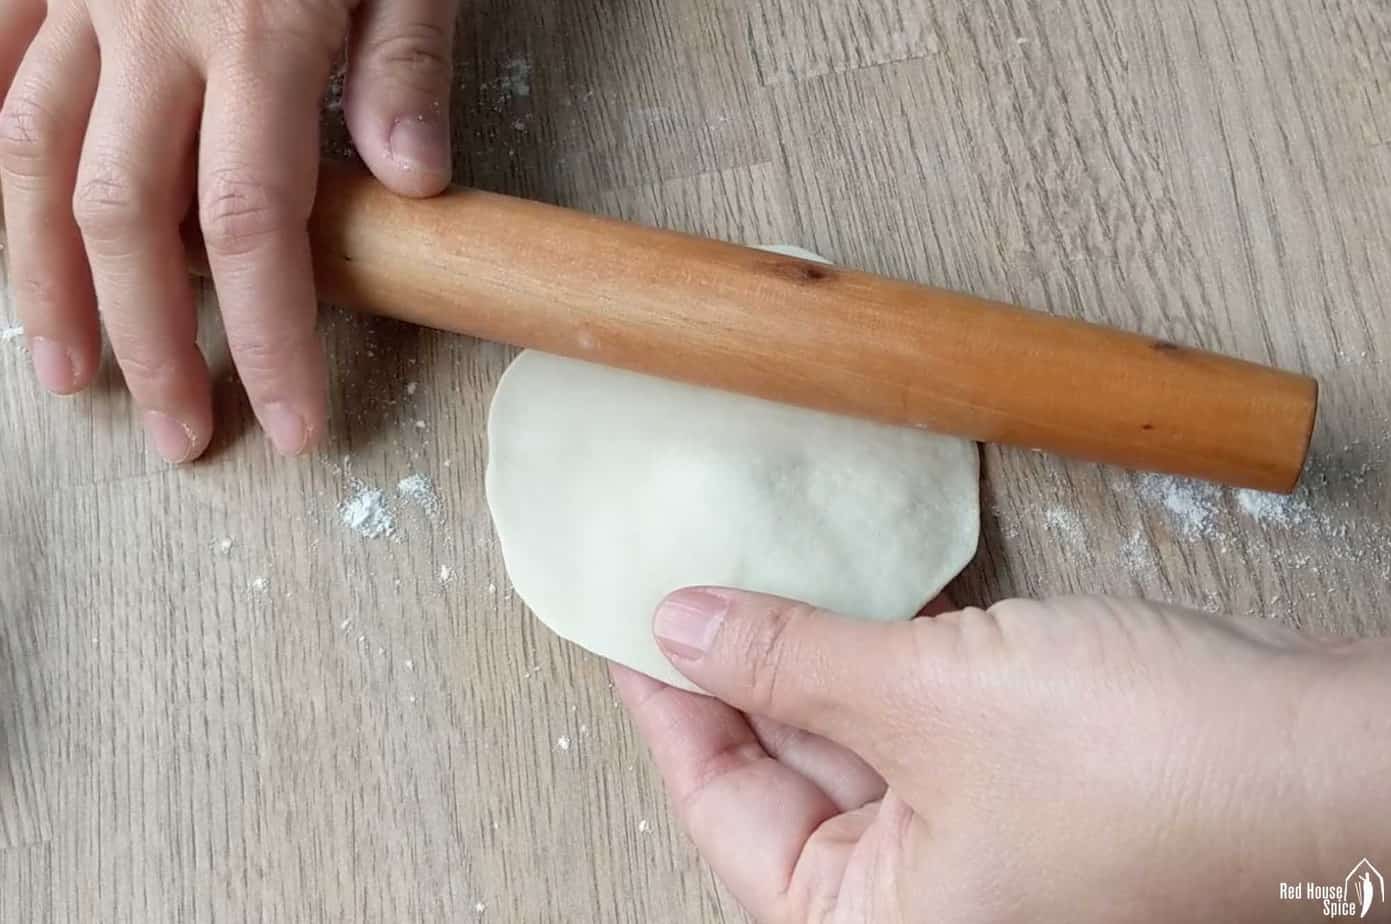
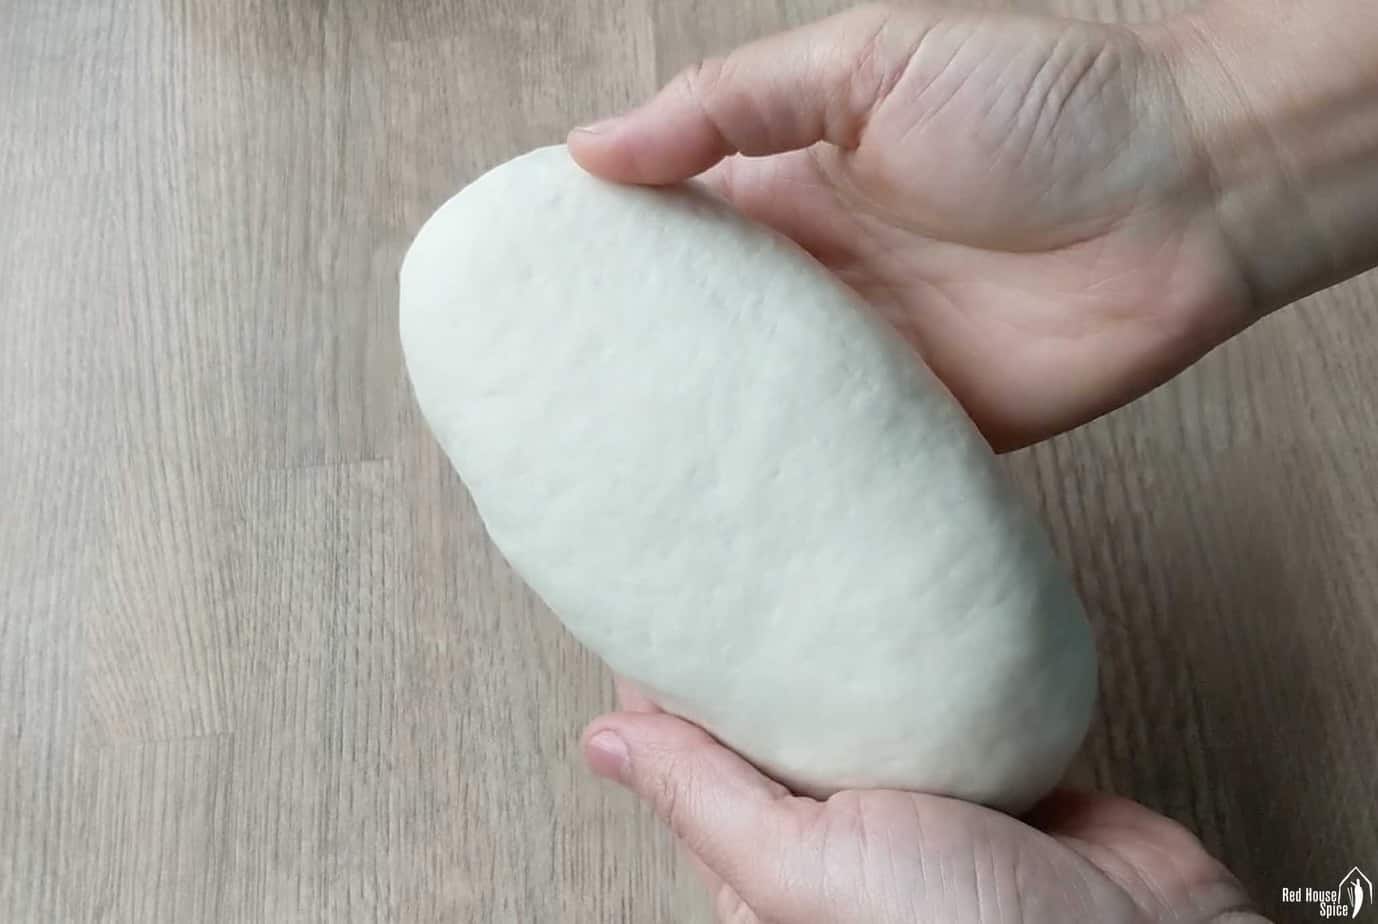
Once the dough becomes smooth, roll it into a long rope then cut it into 14 equal pieces (about 40g each). Use a rolling pin to flatten each piece into a flat disc (around 10cm in diameter). Ideally, the wrapper should be thicker in the middle and thinner on the edge. Watch my tutorial below to see how I make it using the “roll and turn” method.
🛎 Tip: For making steamed buns, I usually roll out one wrapper and assemble a bun then make the next wrapper. Remember to always cover the unused dough to avoid drying out.
Shape the buns
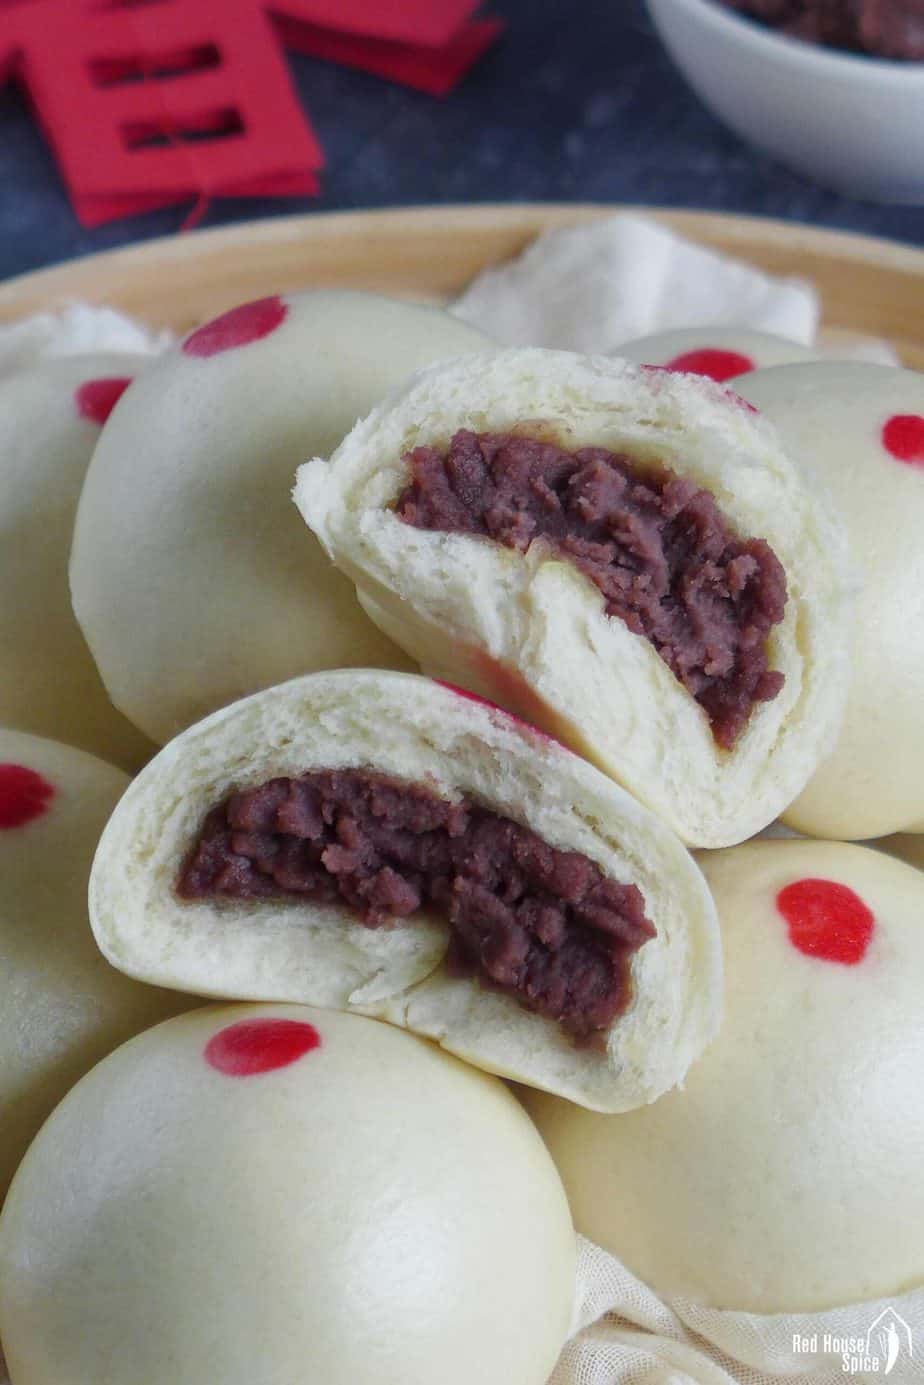
The look of a red bean bun resembles that of a traditional Mantou (馒头, plain steamed bun) with a round, smooth surface. This makes the shaping process easy as no matter how you seal the buns, the folds are hidden underneath.
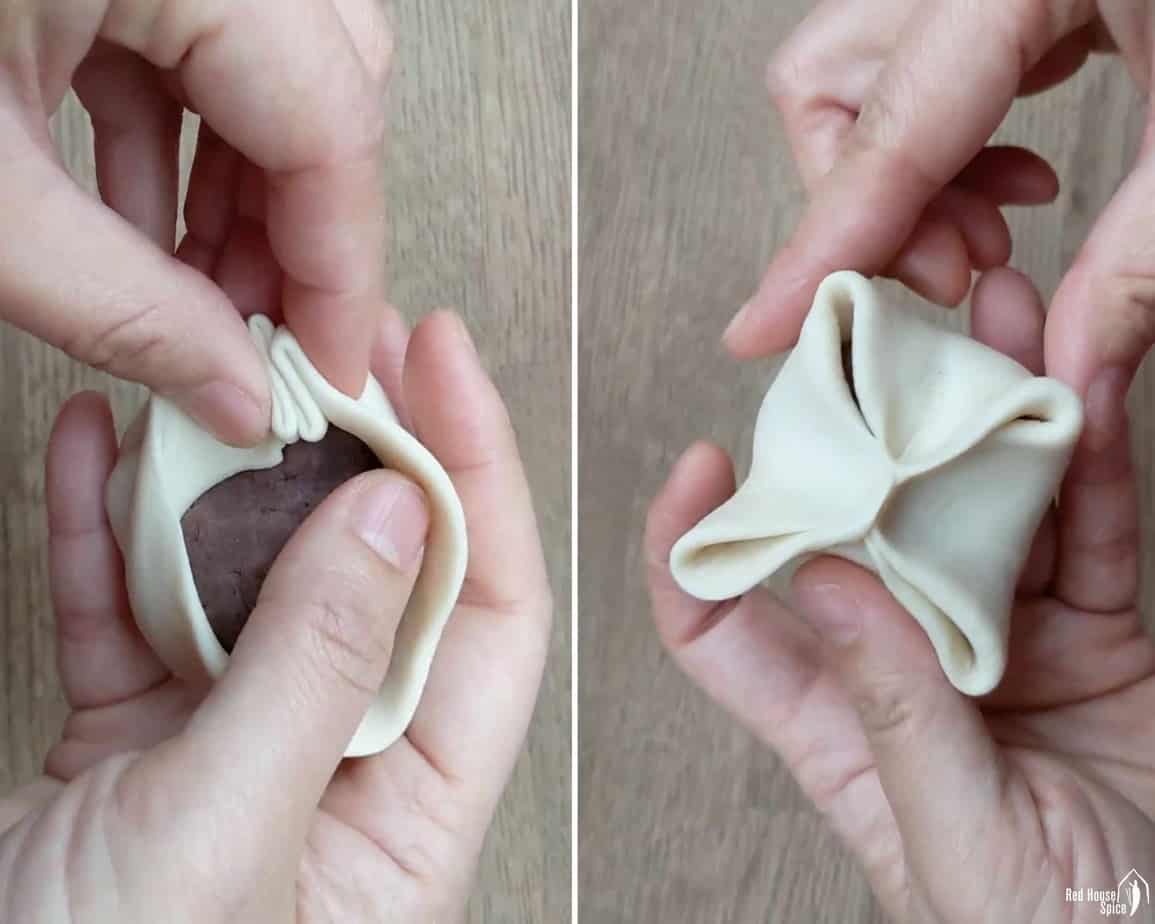
🛎 Tip: In my tutorial video (in the recipe card below), I demonstrate two ways to wrap the red bean paste and seal it into a bun. One is the classic bao folding method (left in the image above), the other the easy four-corner way (right in the image above). Choose whatever technique that you feel most comfortable with as long as the paste is completely locked in leaving no leakage.
After the bun is sealed, place it onto the work surface with the smooth side facing upwards. Rotate it between your hands to form a slightly raised shape so that it won’t look too flat after cooking.
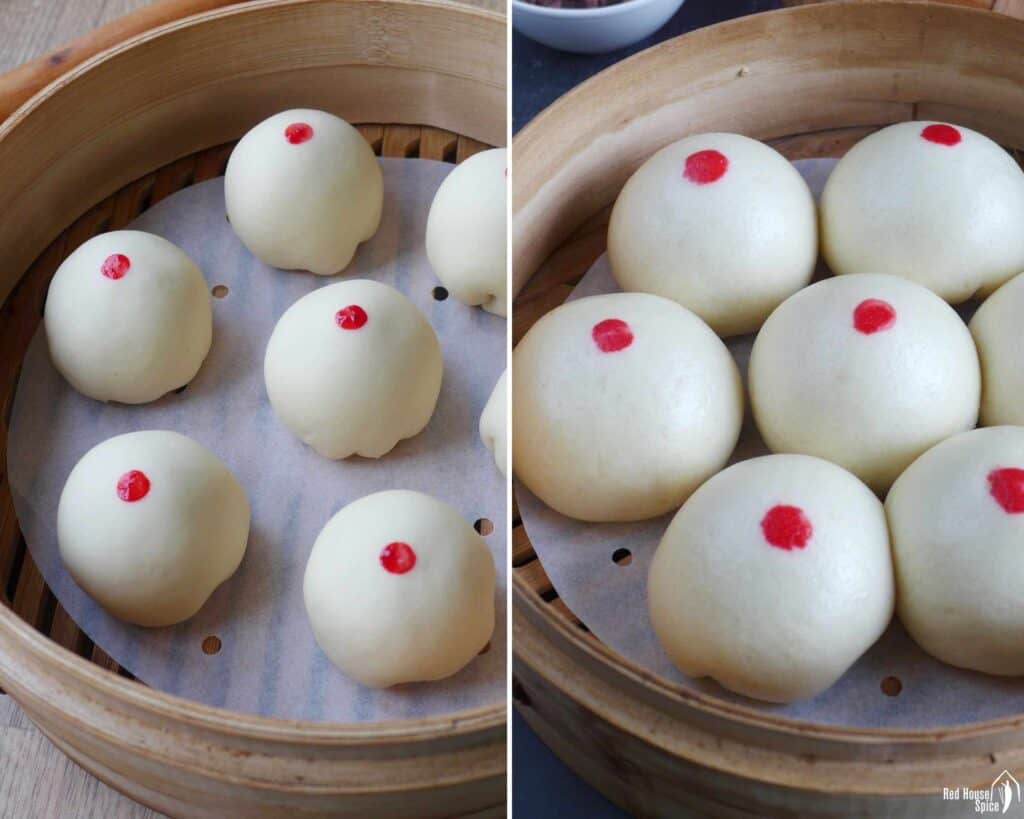
I marked each bun with a red spot on top using a chopstick and a little food colouring. This is entirely optional. I just wanted to give it a festive look (My parents used to make a big batch of both Mantou and red bean buns so the spots would help us to distinguish).
Steam the buns for 10 mins
Once all the buns are assembled, place them into steamer baskets lined with parchment paper to prevent sticking (Alternatively, brush a thin layer of oil if using a metal/plastic steamer).
Make sure you leave amber space between each bun as they will expand quite a lot after steaming. Leave the buns to rest for 30 minutes or so until they become very light & plump (no need to cover).
No matter how you set up for steaming, remember to bring the water to a full boil first then place in the baskets (you can stack up 2-3 and cook all at once). From this moment, cook for 10 minutes then you’re ready to serve! I’m sure you’ll be impressed by how fluffy they turn out to be!
How to prevent the buns from collapsing?
Have you encountered this problem: The second you remove the steamer lid, the fluffy buns start to collapse, wrinkle or harden. Here are a few tips that help you to avoid it:
- Check if the yeast you use is still active.
- When rolling out the wrappers, make sure the dough is perfectly smooth without big air pockets trapped inside. Knead a little to break them.
- Do not overproof the buns. Since my recipe uses two leavening agents (yeast and baking powder), you only need to proof the dough once, after the buns are assembled, for about 30 mins. The buns will expand a little during this process but won’t double in size before you start steaming.
- It is NOT necessary to wait for a few minutes after steaming before you remove the lid (many recipes suggest so). Removing the lid has no effect whatsoever.
Make ahead & storage tips
You can prepare the red bean paste in advance and make the buns later. It can be kept in the fridge for up to 3 days or in the freezer for 2 months. Bring it back to room temperature before assembling the buns. Otherwise, you might find it too firm to handle.
Although it’s not recommended to store uncooked buns (considering it’s made of leavened dough), it’s perfectly fine to keep cooked ones in the fridge for up to 3 days or in the freezer for 2 months. To reheat the buns, simply steam them for 3 mins if chilled or 6 mins if frozen.
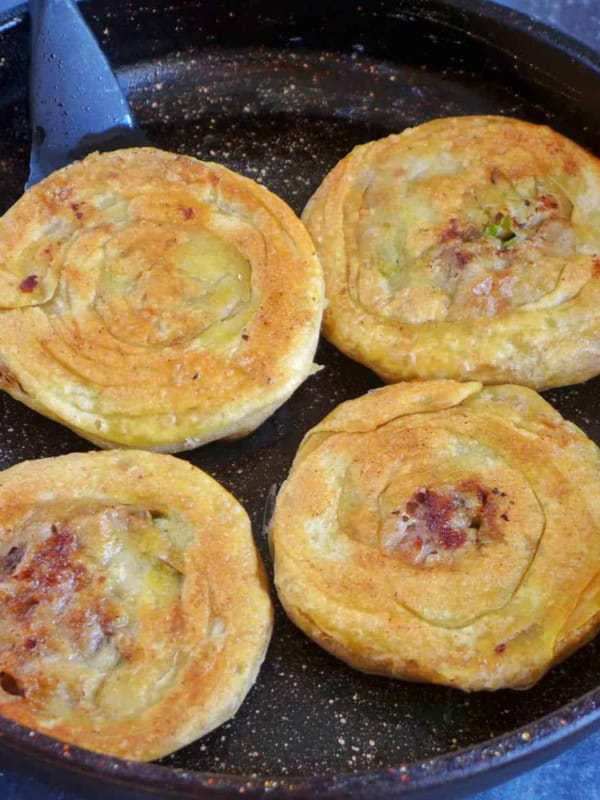
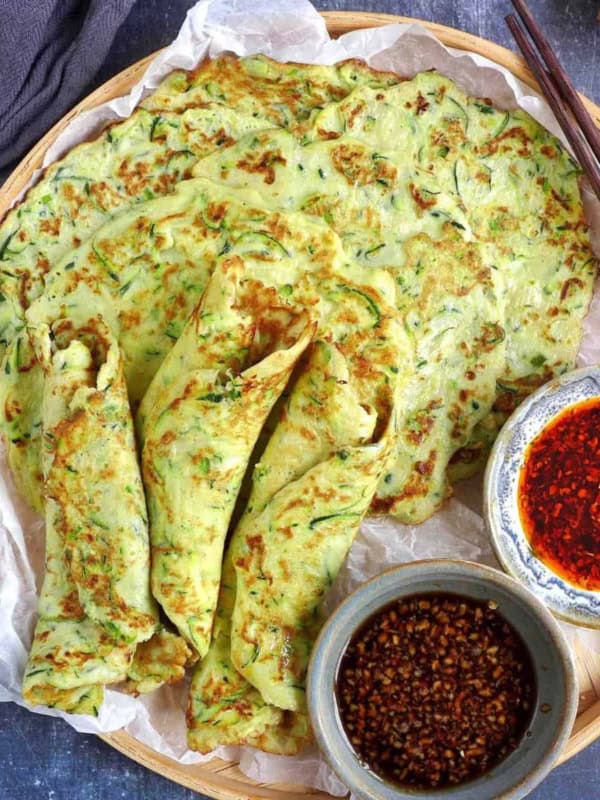
Other ways to use this recipe
Once you’ve mastered the skill for making fluffy, tasty red bean buns, I encourage you to create more delicious dishes using the two components, the wrapper dough and the red bean paste. Here are some ideas:
- Use the wrapper dough to make buns/bao with the filling of your choice: You can find many savoury filling recipes in my Ultimate Dumpling Guide.
- Use the red bean paste as filling for Sesame Balls, Cantonese Mooncakes, Snow Skin Mooncakes, Glutinous Rice Balls (Tang Yuan), Sticky Rice Dumplings (Zongzi), Leaf-wrapped Sticky Rice Cakes, Pumpkin Mochi, etc.
Red Bean Buns (Dou Sha Bao, 豆沙包)

Video
Ingredients
For the filling
- 150 g adzuki beans (aka red beans), or 350g canned ones, see note 1
- 2 tablespoon white sugar
- 1 tablespoon dark brown sugar
- 80 g butter, see note 2 for substitute
For the dough
- 350 g all-purpose flour, or bao flour/cake flour, see note 3
- 2 teaspoon instant dry yeast, see note 4
- 2 teaspoon baking powder
- 1 tablespoon sugar
- 1½ tablespoon neutral cooking oil
- 180 g lukewarm water, adjust slightly if necessary, see note 5
Instructions
Cook the beans (skip if using canned beans)
- Soak adzuki beans in water overnight. Drain then put into a pot. Pour in 500ml of water. Bring it to a boil then leave to simmer for about 90 mins until cooked (You may use a pressure cooker/instant pot to reduce the cooking time).
Make the paste
- Put drained beans into a blender or food processor (see note 6 for handmade option). Add white sugar, dark brown sugar and butter (or coconut oil). Blend on high speed into a fine paste. You may need to add a little water to make blending easier. However, only add as little as necessary.
- Transfer the soft paste into a non-stick pan. Cook over medium-high heat while stirring and flipping constantly to avoid burning. Once the paste becomes dark and holds in shape, transfer out to cool (Watch the video below to see the desired consistency).
Prepare the dough
- IF USING HANDS: Mix flour, sugar, baking powder, yeast and oil in a bowl. Add water gradually while mixing with a pair of chopsticks/spatula. Combine with your hands to form a rough dough. Rest (covered) for 10 mins then knead again until very smooth.
- IF USING A STAND MIXER: Add all the ingredients for the dough into the mixing bowl. Knead on low speed for about 8 mins until a smooth dough forms.
Roll the wrappers
- Roll the dough into a long rope then divide into 14 equal parts. Work on one piece at a time and make sure you cover the rest to prevent them from drying out.
- With a rolling pin, flatten one piece into a disc-like wrapper, about 10cm in diameter (Dust with flour if necessary). Ideally, it should be thinner on the edge & thicker in the middle (See the rolling technique in the video below).
Assemble the buns
- Place a spoonful of the cooled red bean paste (about 30g) in the middle of a wrapper. Seal the bun completely using whatever method that you feel most comfortable with (Watch the video below for reference).
- Put the bun on the work surface with the sealed side facing down. Rotate the bun between your hands to form a slightly raised shape.
- OPTIONAL STEP: If you wish to make it festive, mark a red dot (or other pattern) on top of the bun with a little red food colouring.
- Repeat to finish all the wrappers and filling. Then place the buns into steamer baskets lined with parchment paper to prevent sticking (Alternatively, brush a thin layer of oil if using a metal/plastic steamer). Make sure you leave ample space between each bun.
- Leave to rest for 30 minutes or so until they become very light & plump (no need to cover).
Steam the buns
- Bring water to a full boil in a wok/pot. Place the steamer baskets in.
- Steam over medium-high heat for 10 mins. Serve immediately.
Store and reheat
- Red bean paste can be kept in the fridge for up to 3 days or in the freezer for two months.
- Store leftover buns in the fridge for up to 3 days or in the freezer for two months (It’s not recommended to refrigerate or freeze uncooked buns).
- To reheat the buns: Defrost in the fridge then steam for 3 mins. Alternatively, steam for 6 mins without defrosting.
Notes
Your Recipe Notes
Nutrition
Nutrition information is automatically calculated, so should only be used as an approximation.


The dough from this recipe is my new favorite thing!! I’ve used it with with savory fillings (ground turkey and whatever else I had in the fridge) and sweet fillings (sweet potato and pecan). I recently did a custard filling with matcha added to both the dough and filling and got rave reviews from my friends! This recipe has absolutely upped my cooking game! Thank you so much!
Thank you so much for sharing this, Emily. I love hearing how you’ve experimented with different fillings. The matcha version sounds wonderful.
Hello Wei!
I don’t have a steamer, how can I make them without having one ?
You can set up a makeshift steamer. Use a large wok or pot with a lid, and place a steamer rack or a small heatproof bowl inside to prop up a flat plate. Add some water to the bottom (just below the plate), then place the buns on the plate and steam as usual. Hope this helps!
Usage of measures such as cups and spoons together with grams makes it confusing and annoying. Choose one method and stick to it, or better, use the metric system, please. Like this it will prevent us from running to a conversion mechanism and focus on the recipe.
I totally understand, Marc. Consistency in measurements makes cooking much easier! For this recipe, I used the metric system since dough-making needs more precision. For most other recipes, I include both US customary and metric measurements (you can switch between them by pressing the button). I also use tablespoons and teaspoons for small amounts, as they’re pretty common in many countries. Thanks for the feedback. I really appreciate it!
Marc, why don’t you buy a food scale from a local grocery store? It’s a basic kitchen tool, and you’ll need it for a lot of other recipes aside from this one.
Thank you for sharing this recipe, they came out great!
Delighted to hear that!