
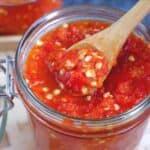
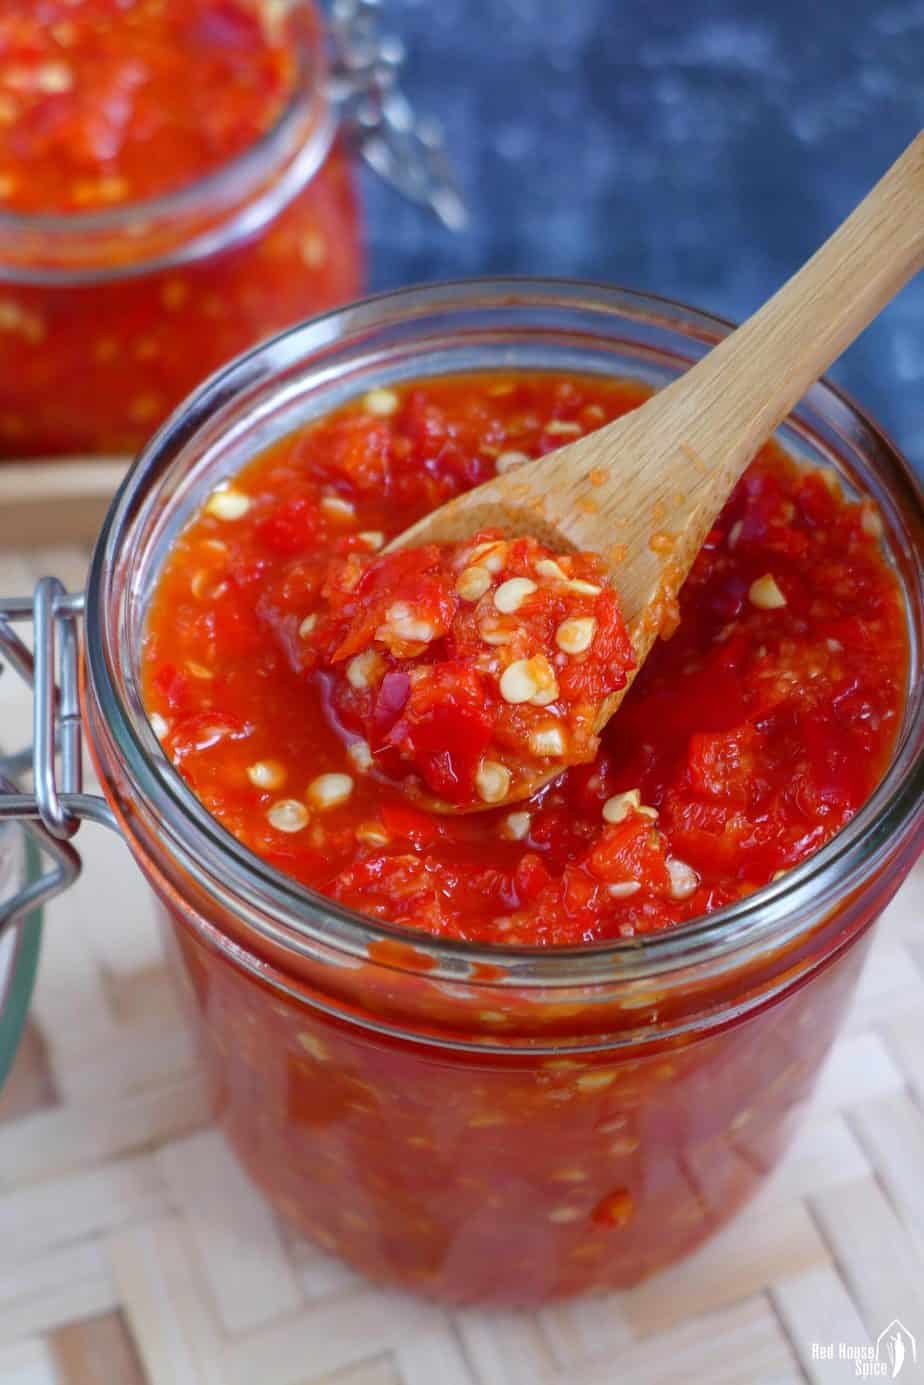
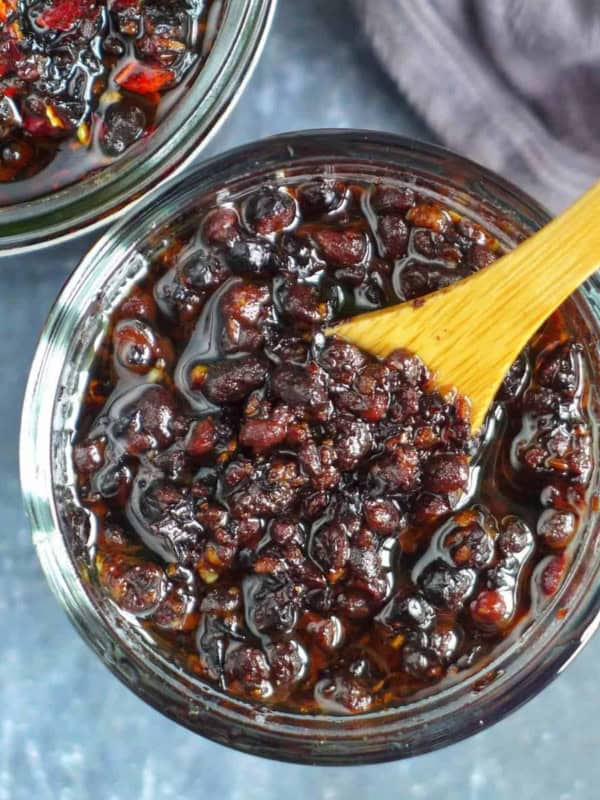
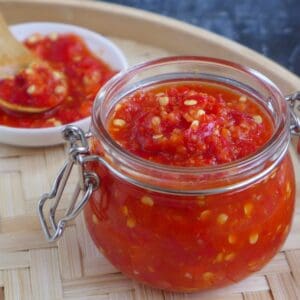
Chinese pickled chili garlic sauce is long-lasting, flavoursome and can be used in many creative ways. Follow my detailed recipe to make some!
Pin this now to find it later!
Pin ItWhat is pickled chili garlic sauce
Pickled chilies are commonly found in Chinese cuisine, particularly in cuisines of southern provinces, such as Hunan, Sichuan, Guizhou, Guangxi, etc. Home cooks would make it in big batches (usually with their own “secret” formula) and have it as a kitchen essential to use on a regular basis.
Today’s recipe is the Hunan style chopped version which is called Duo Jiao/剁椒 in Chinese. Traditionally, the main ingredients, chili peppers, garlic and ginger, are chopped manually with a cleaver. As you could imagine, it’s a labour-intensive job but the final taste is so rewarding.
My recipe introduces an easier and faster method using a food processor. You can use this long-lasting, pungent, flavourful condiment for seasoning many savoury dishes, such as stir-fries, steamed meat/fish, dipping sauces, noodle dressing, etc. Sounds interesting? Please read on!
Ingredients
It doesn’t require a long ingredient list to make pickled chili garlic sauce. Also, everything that you need can be easily sourced from mainstream supermarkets (apart from one optional ingredient). Here is the list:
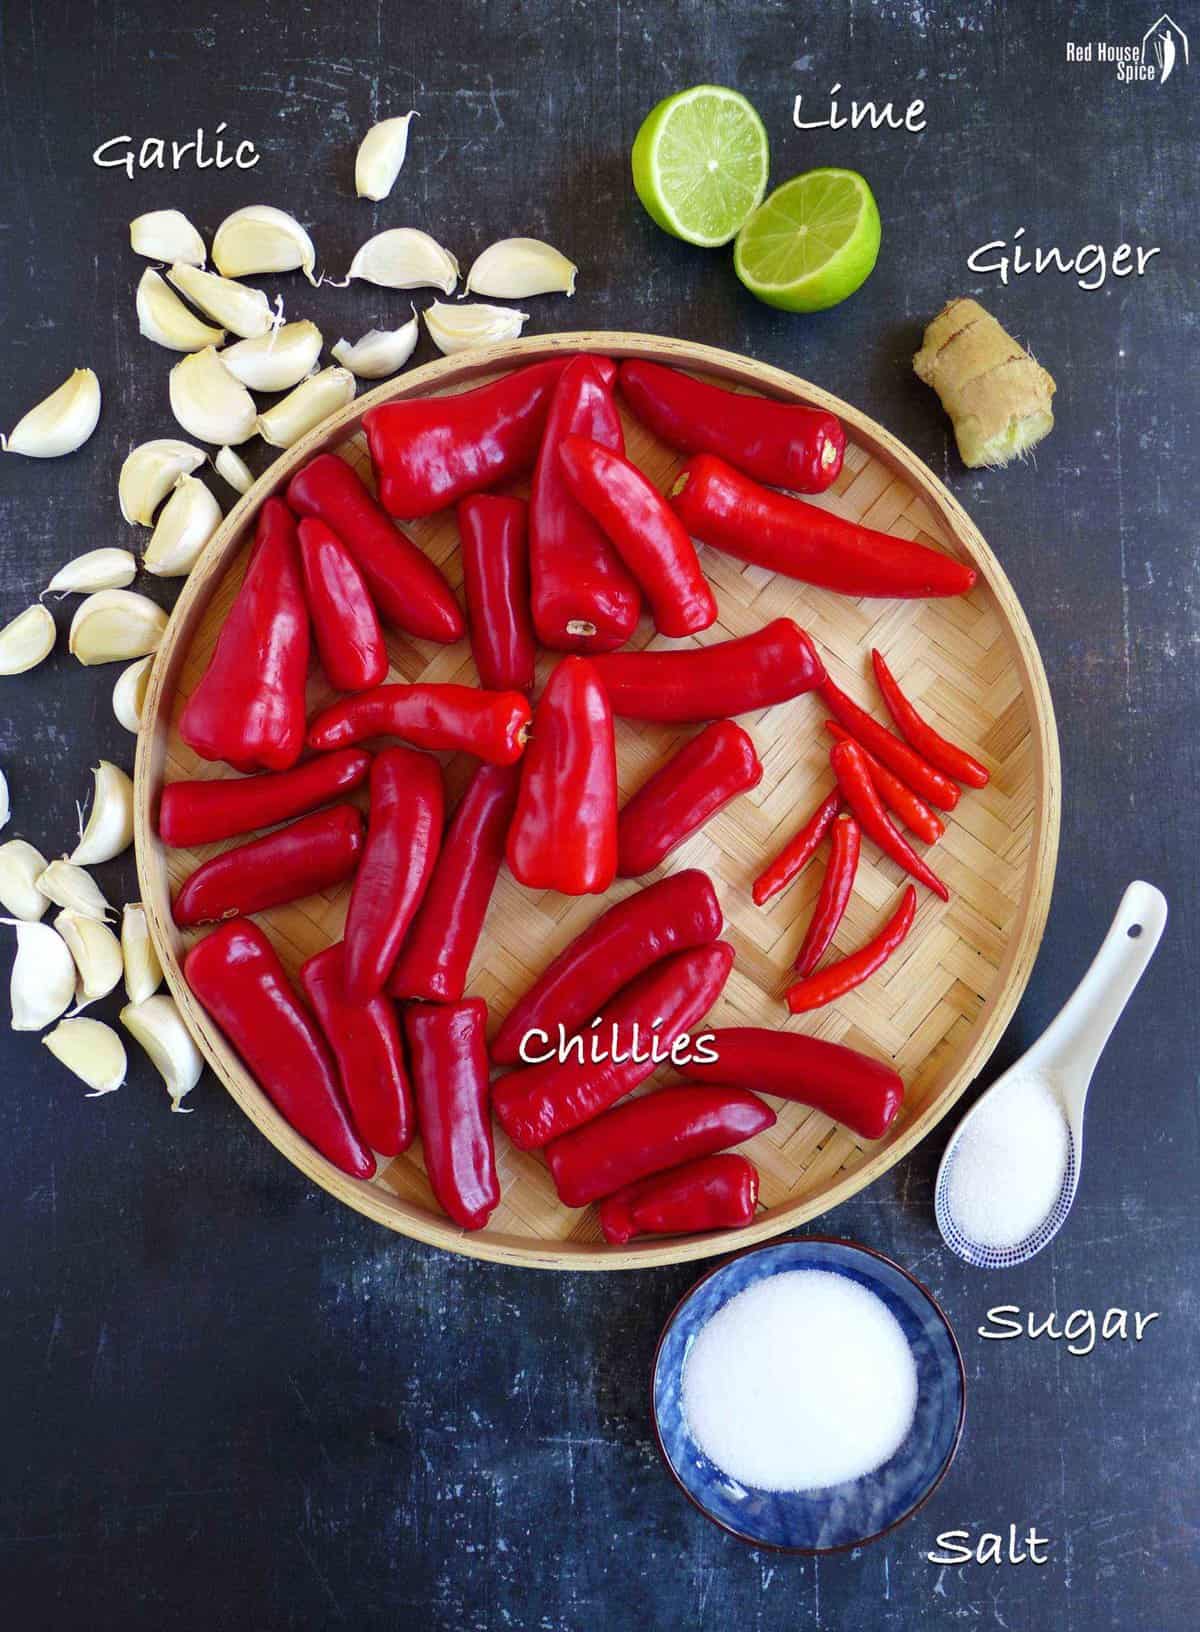
Fresh chili peppers
Any types of fresh chili pepper would work for this recipe (the fresher the better). The only thing you need to consider is the heat level that you enjoy or tolerant. I mix two types for this recipe (see image above): the majority is the bigger, juicy ones with medium heat (labelled as “red chilli” in British supermarkets) and a few bird’s eye chilies (Thai chilies) which taste much hotter (I find this guide on “25 types of peppers” by blogger Jessica Gavin is quite helpful).
The traditional Chinese pickled chili garlic sauce includes the seeds of the peppers. However, please feel free to remove them. This will dramatically reduce the heat of the end product.
Garlic & ginger
Garlic is indispensable for this recipe while ginger is optional. I prefer fresh ones but shop-bought garlic/ginger paste is acceptable as long as it doesn’t contain any artificial flavours, colours or preservatives.
Salt & sugar
Any types of salt will work as long as it’s pure salt without any other ingredients in it. The suggested salt sugar ratio is 3: 1. However, you could increase the sugar quantity a little if you fancy the sauce sweeter (the sweetness also helps to reduce the spiciness of the sauce).
Lime/lemon or white rice wine
For the acidic element used in this chili sauce, I like lime or lemon for its hint of fruity flavour. Simply squeeze the juice out (remove seeds if any). The more traditional method usually calls for white rice vinegar, so use it instead if you prefer.
How to make it
With all the ingredients at hand, we’re ready to make the sauce following five simple steps: wash, dry, chop, blend and season. Unlike Chiu Chow Chili Oil which also uses fresh chilies, this recipe doesn’t involve cooking.
Before we start, I’d like to remind you of a very important tip: All the utensils that are in contact of the ingredients (chopping board, knife, food processor, spatula, bowl, jars/containers, etc.) need to be thoroughly cleaned, dried and completely oil-free.
Step 1: Wash
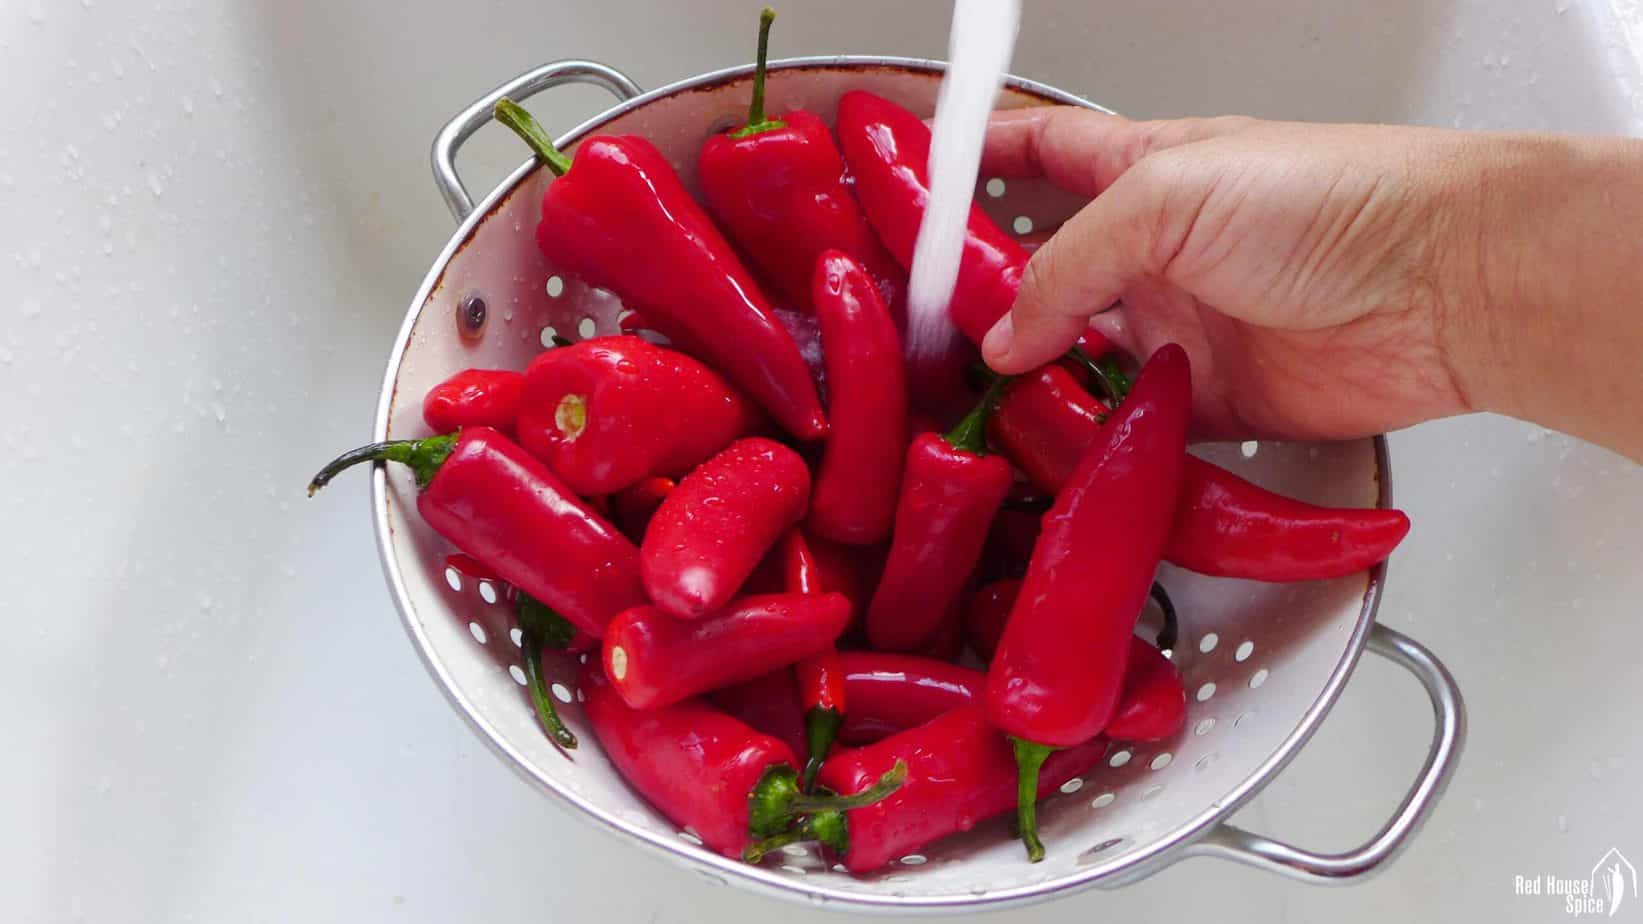
Wash the chili peppers under running water. At this stage, try not to remove the stems of the peppers. Otherwise, water might get inside.
Step 2: Dry
Drain the peppers then pad dry with a clean tea towel or kitchen paper. Lay them on a tray without overlapping. Leave to air dry completely.
Step 3: Chop
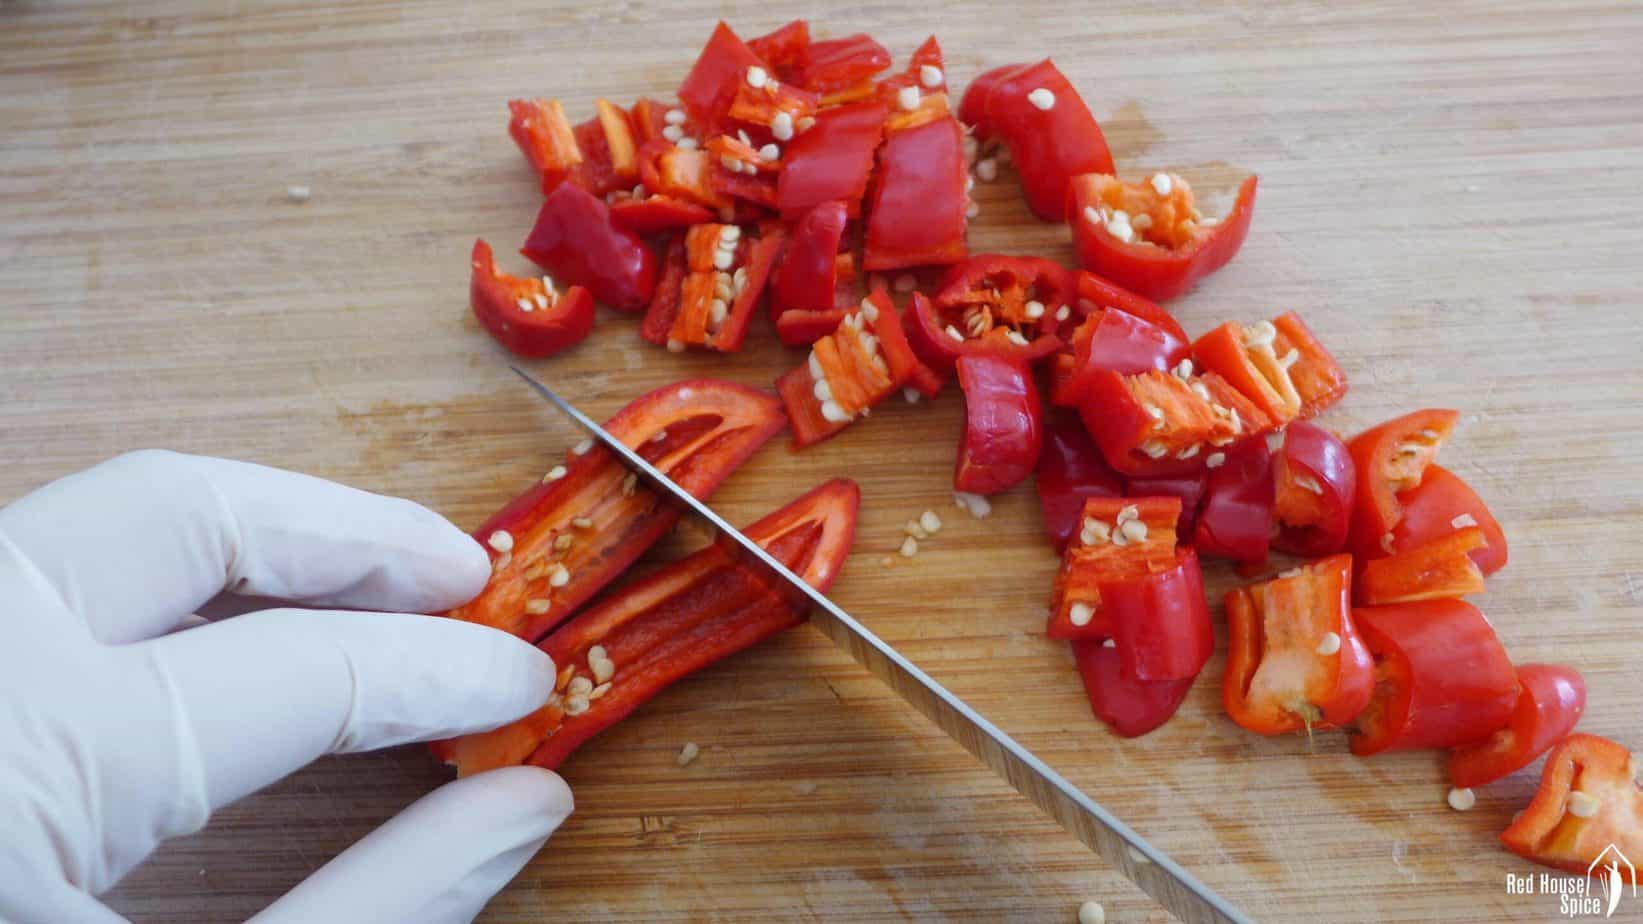
Remove the green stems and any blemishes or spots. Cut the peppers into chunks (Wear gloves to avoid burning). If you wish to reduce the spiciness, cut the chili pepper open lengthwise. Use the tip of a knife or spoon to scrape off the seeds. Peel the garlic and ginger. Crush a little to loosen their texture.
Step 4: Blend
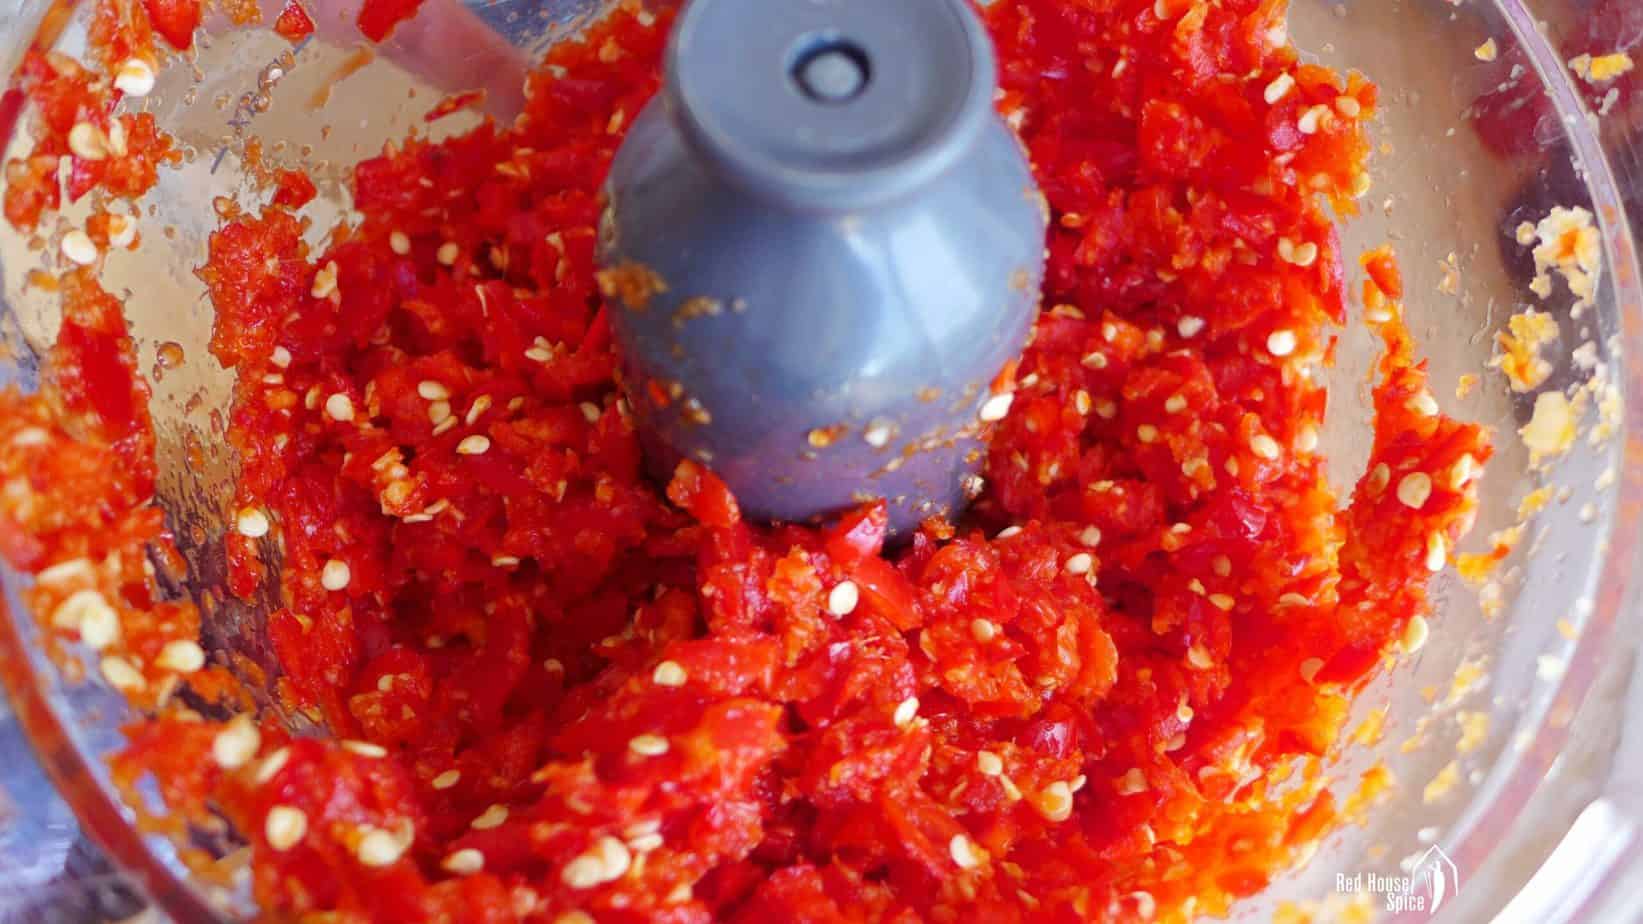
Add peeled garlic and ginger to a food processor. Blend on high speed into a paste-like consistency. Then put in the chopped pepper (you might need to add it in two batches depending on the size of your food processor). Blend for 3 seconds then pause. Stir with a spatula then blend for another 3 seconds. Repeat the process until the pepper is evenly chopped into small pieces but not to a fine paste consistency.
Step 5: Season
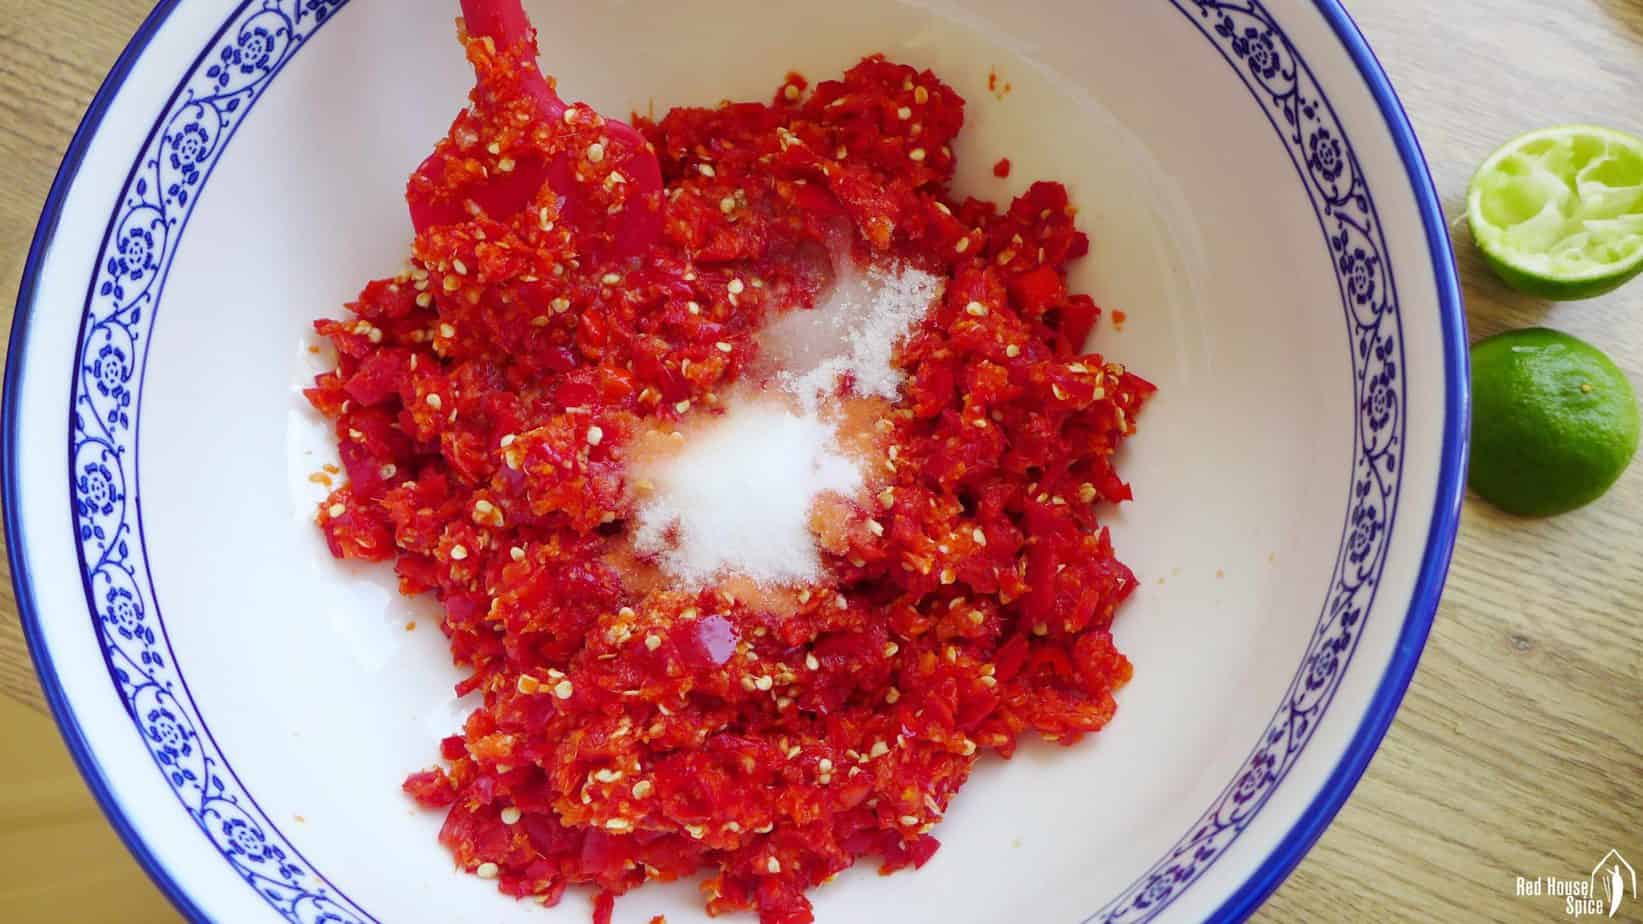
Pour everything into a large bowl. Add salt, sugar and the juice of the lime/lemon (or white rice vinegar). Mix with a spatula until well combined. Cover the bowl and leave to rest on the counter for 48 hours.
How to store it
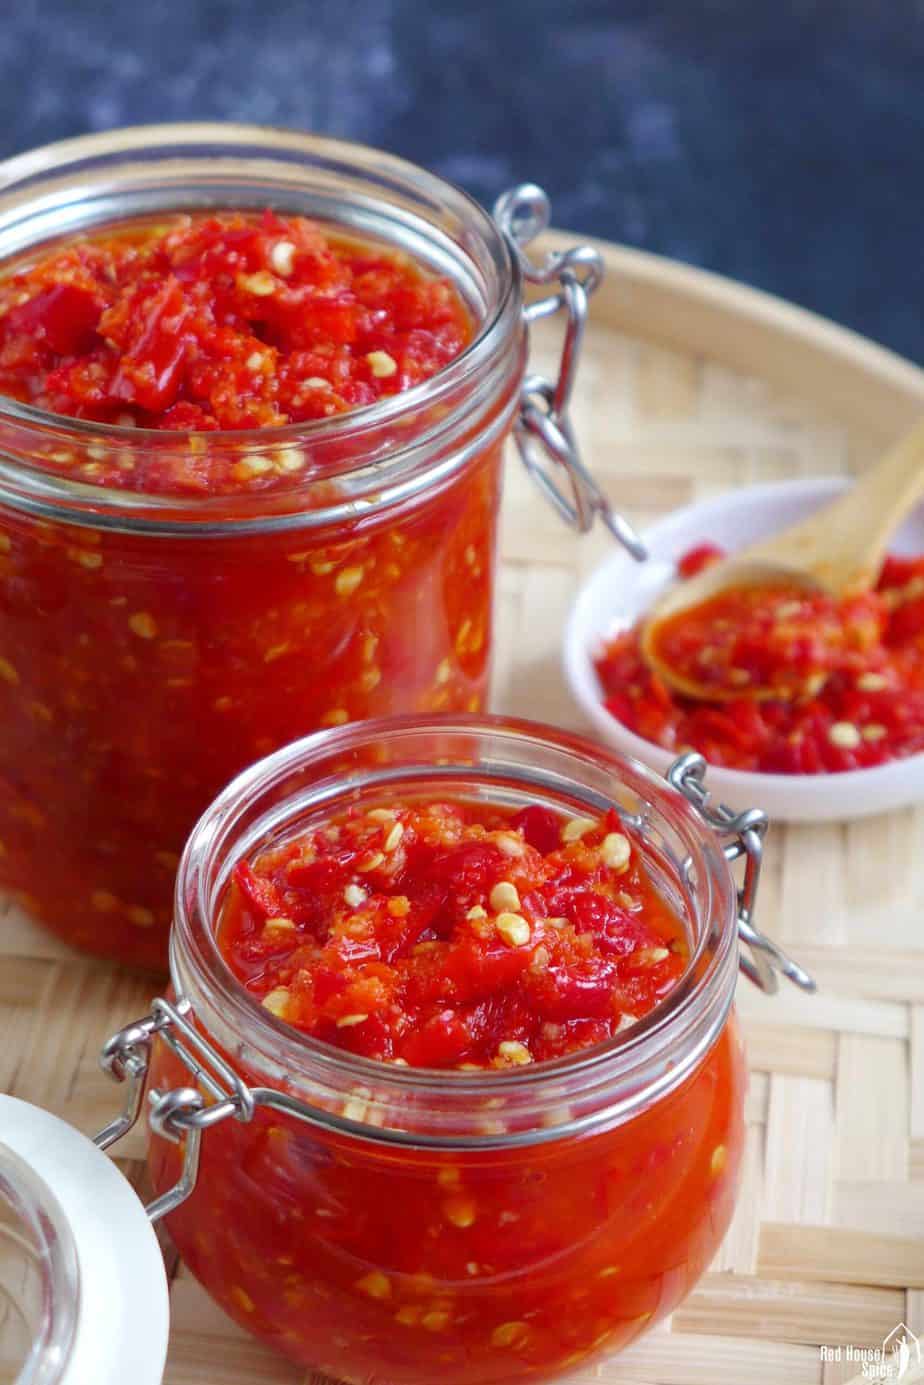
- Transfer the chili garlic sauce into clean, oil-free, air-tight jars/containers. Store in the fridge. You can use it straight away but the taste will be richer after about a week.
- You can keep this sauce in the fridge for up to 3 months or in the freezer for 9 months.
- Remember to always use a clean, oil-free spoon to scoop out the sauce. Put the jar/container back into the fridge after each use.
How to use it
Chinese pickled chili garlic sauce is super versatile. Here are some examples of how to incorporate it into your dishes:
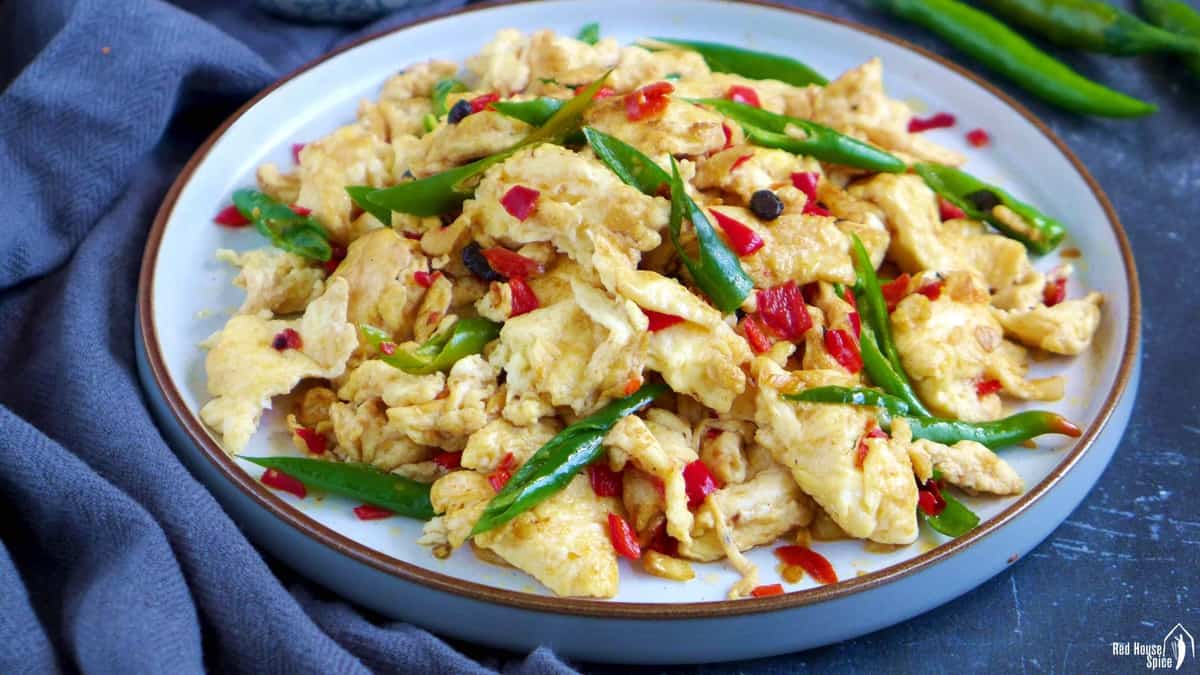
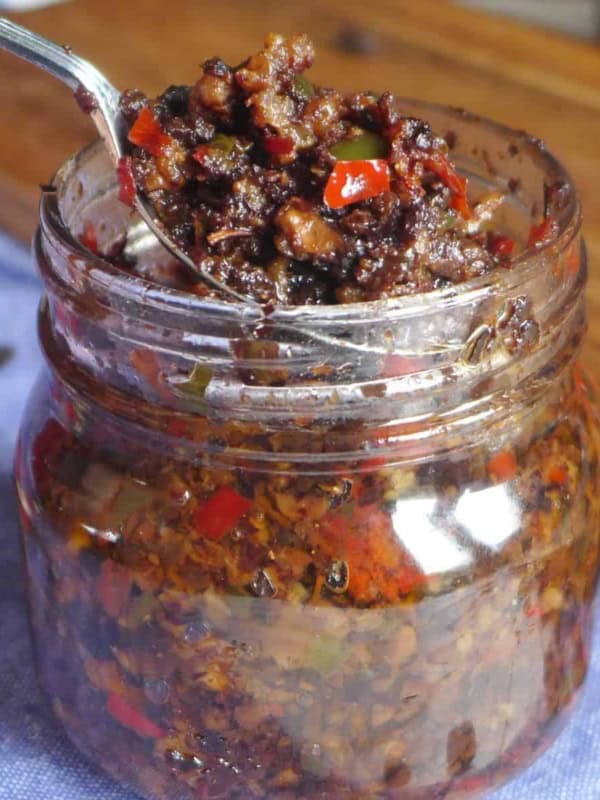
- Make classic Hunan dishes, e.g. Egg and Pickled Chili Stir-fry (see image above). Very simple yet super tasty!
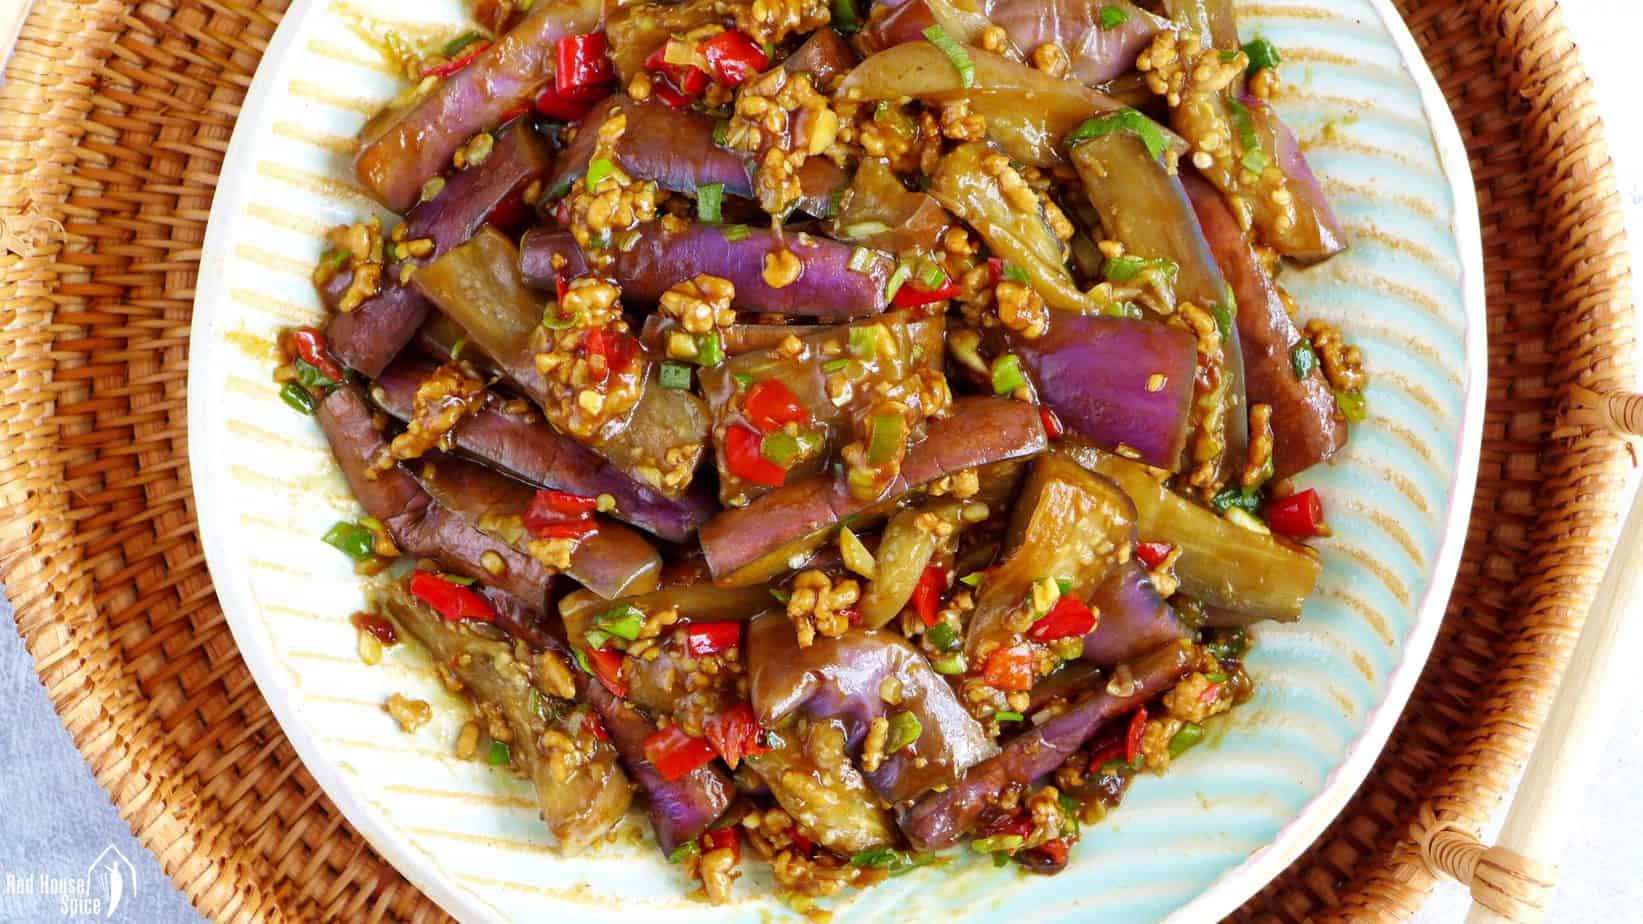
- Use it to season garlic sauce flavoured stir-fries, such as Sichuan Shredded Pork, Sichuan Eggplant stir-fry (see image above), etc.
- Replace Sichuan chilli bean paste in Spicy Pan-Fried Tofu.
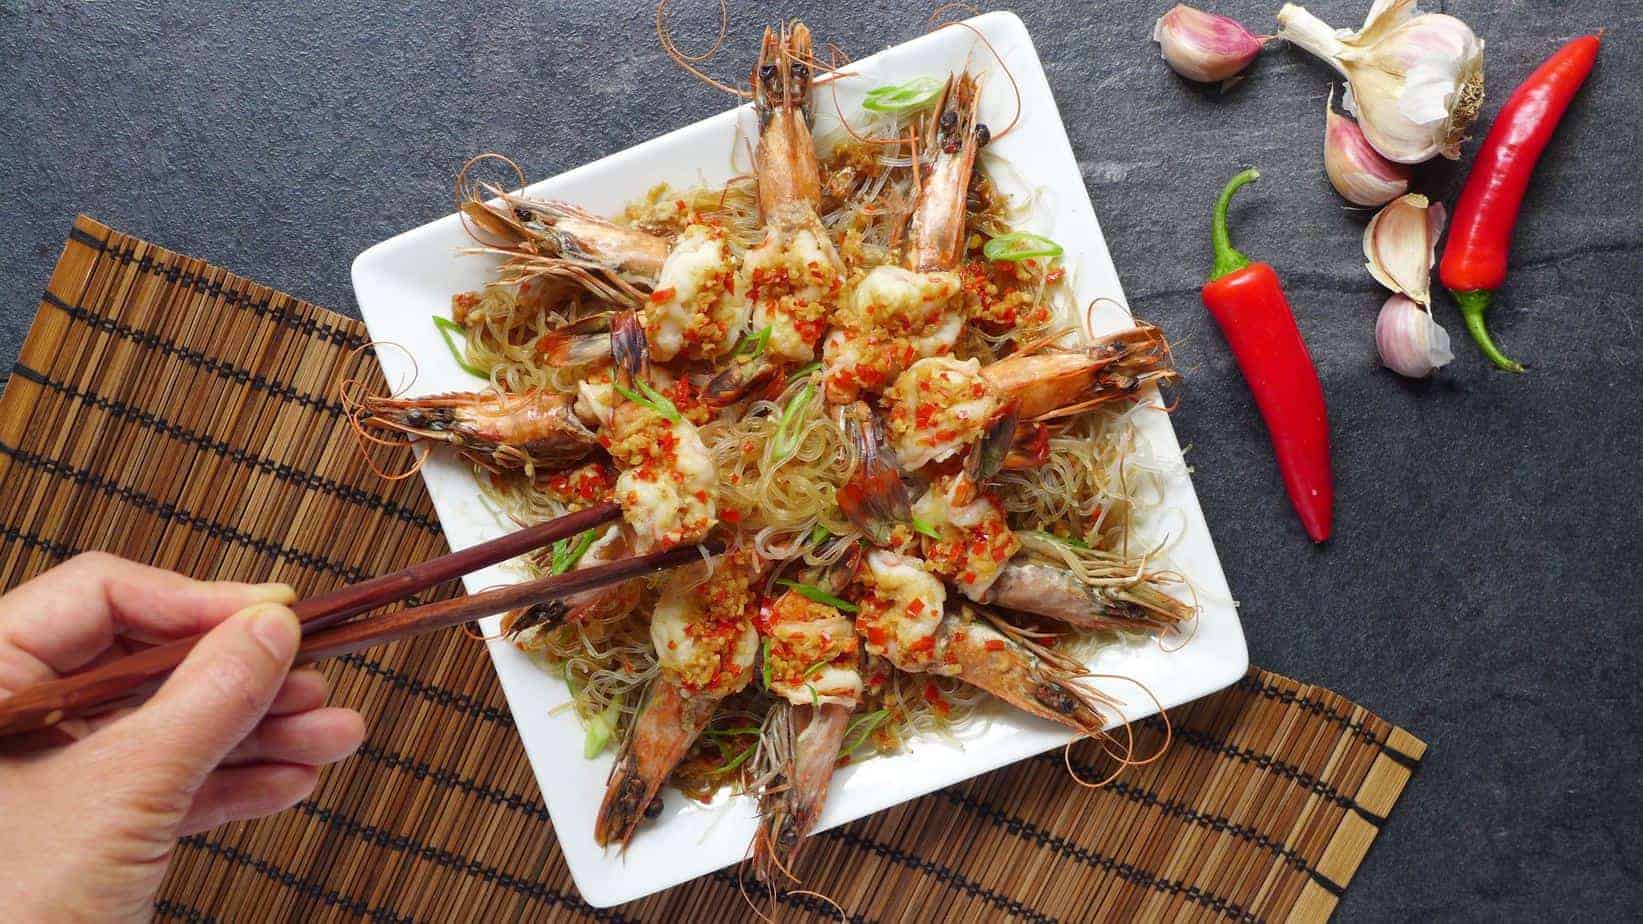
- Replace fresh chili in Steamed Garlic Prawn with Vermicelli (see image above), King Oyster Mushroom Stir-fry, etc.

- Spread it onto Jian Bing (Chinese Crepes, see image above), Mantou (Plain Steamed Buns) or use it as a seasoning in Bao Buns.
- Add it to dumpling sauces.
- Mix it in dressings for your favourite salads or noodle dishes.
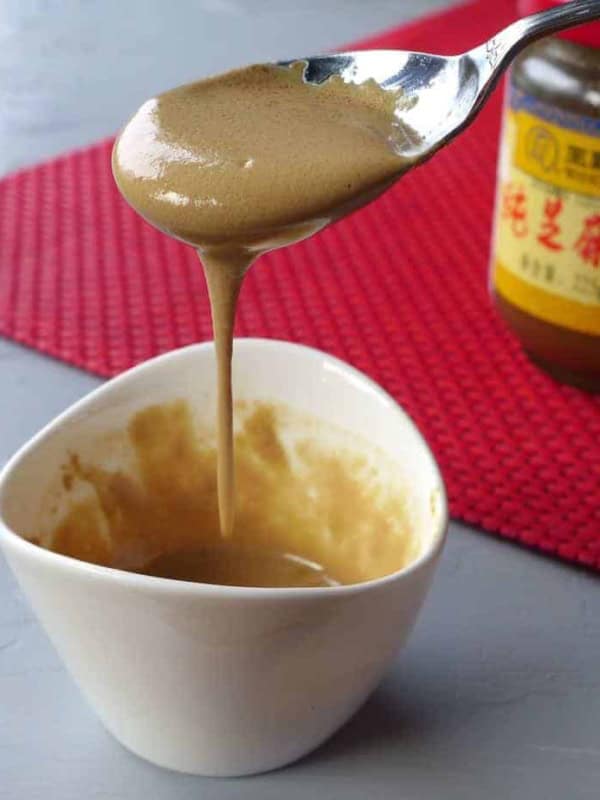
Other homemade sauces
Healthier and tastier, homemade sauces/condiments are great things to have in your kitchen. Here are a few recipes that I recommend:


📋Recipe
Love this recipe? Please leave a 🌟🌟🌟🌟🌟 rating and a comment. Thank you!
Pickled Chili Garlic Sauce (Duo Jiao,剁椒)

Ingredients
- 1 lb fresh red chili peppers, see note 1
- 4 oz garlic
- 1 oz ginger, optional
- 1½ tablespoon salt
- ½ tablespoon sugar
- 1 lime/lemon, or 1 tbsp white rice wine
Instructions
Prepare
- Wash the chili peppers under running water thoroughly. Drain then pad dry with a clean tea towel or kitchen paper. Lay them on a tray. Leave to air dry completely.
- Remove the green stems. Cut the peppers into chunks (Wear gloves to avoid burning). If you wish to reduce the spiciness, remove the seeds before cutting (see note 2 to learn how).
- Peel the garlic and ginger. Crush to loosen the texture a little.
Blend (see note 3 for the traditional method)
- Add garlic and ginger to a food processor. Blend them on high speed into a paste-like consistency.
- Put in the chopped pepper (you might need to add it in two batches depending on the size of your food processor). Blend for 3 seconds then pause. Stir with a spatula then blend for another 3 seconds. Repeat the process until the pepper is evenly chopped into small pieces but not to a fine paste consistency.
Season
- Pour everything into a large bowl. Add salt, sugar and the juice of the lime/lemon. Mix with a spatula until well combined.
- Cover the bowl and leave to rest on the counter for 48 hours.
Store
- Transfer the chili garlic sauce into clean, oil-free, air-tight jars/containers. Store in the fridge for up to 3 months or in the freezer for 9 months.
Use
- Use it a week later for a richer flavour. Always use a clean, oil-free spoon to scoop out the sauce. Put the jar/container back into the fridge after each use.
- For inspirations on how to use this sauce, pleace read in the post content above.
Notes
Your Recipe Notes
Nutrition information is automatically calculated, so should only be used as an approximation.


Please, please, please give measurement option for us loyal Americans.
Thanks for your appreciation for my blog, David. I’ve just edited the recipe so it provides both US Customary and Metric measurements.
Better than best, thank you!!
With love from the Netherlands,
Wil
So happy to hear your feedback, Wil!
I have an unrelated question regarding the quantity of ingredients…can you also use American values, such as: cup, TBS, tsp, 1/2 cup? That would be so helpful to many. TY kindly!
Thank you for your suggestion Karen! I’m in the process of adding US customary measurements to my previous recipes.
Very good and complex taste
It’s a winner!!! Very versatile. My brother loves it. I cooked it with kale, yesterday.
Thank you for sharing this great & easy recipe!
My family loves this and we put this on nearly everything that needs a bit of heat to give it a little kick.
This sauce has claimed a permanent spot in our fridge!
So happy to hear that Angie. Yes, it makes every dish extra tasty!