
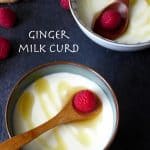
A tried and tested recipe for making perfect ginger milk curd, a popular Cantonese dessert with an interesting flavour and silky texture.
Pin this now to find it later!
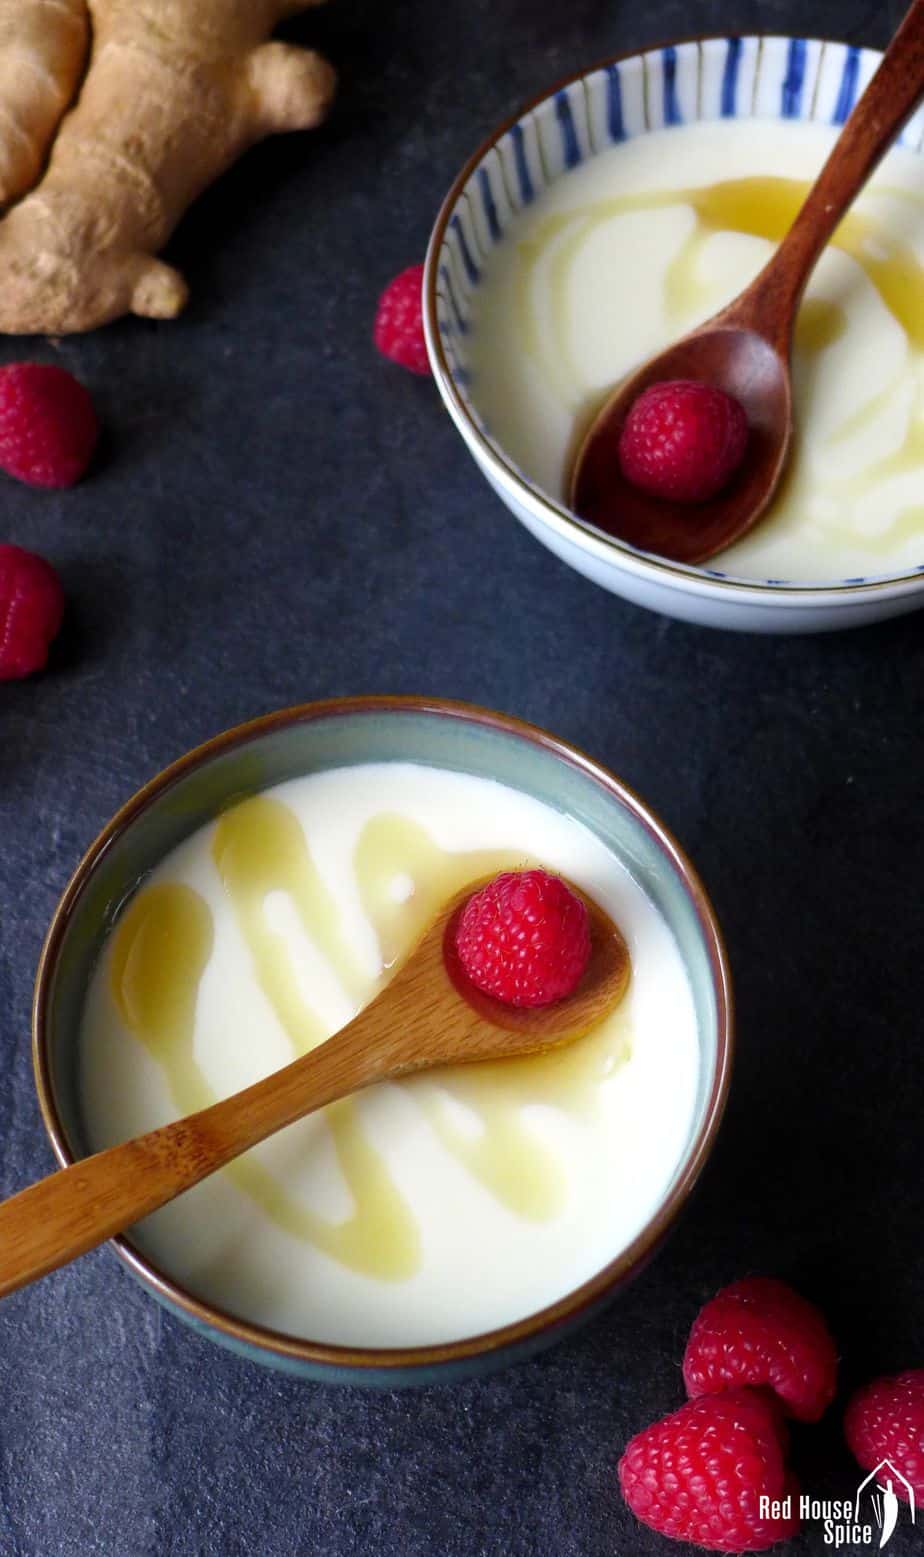
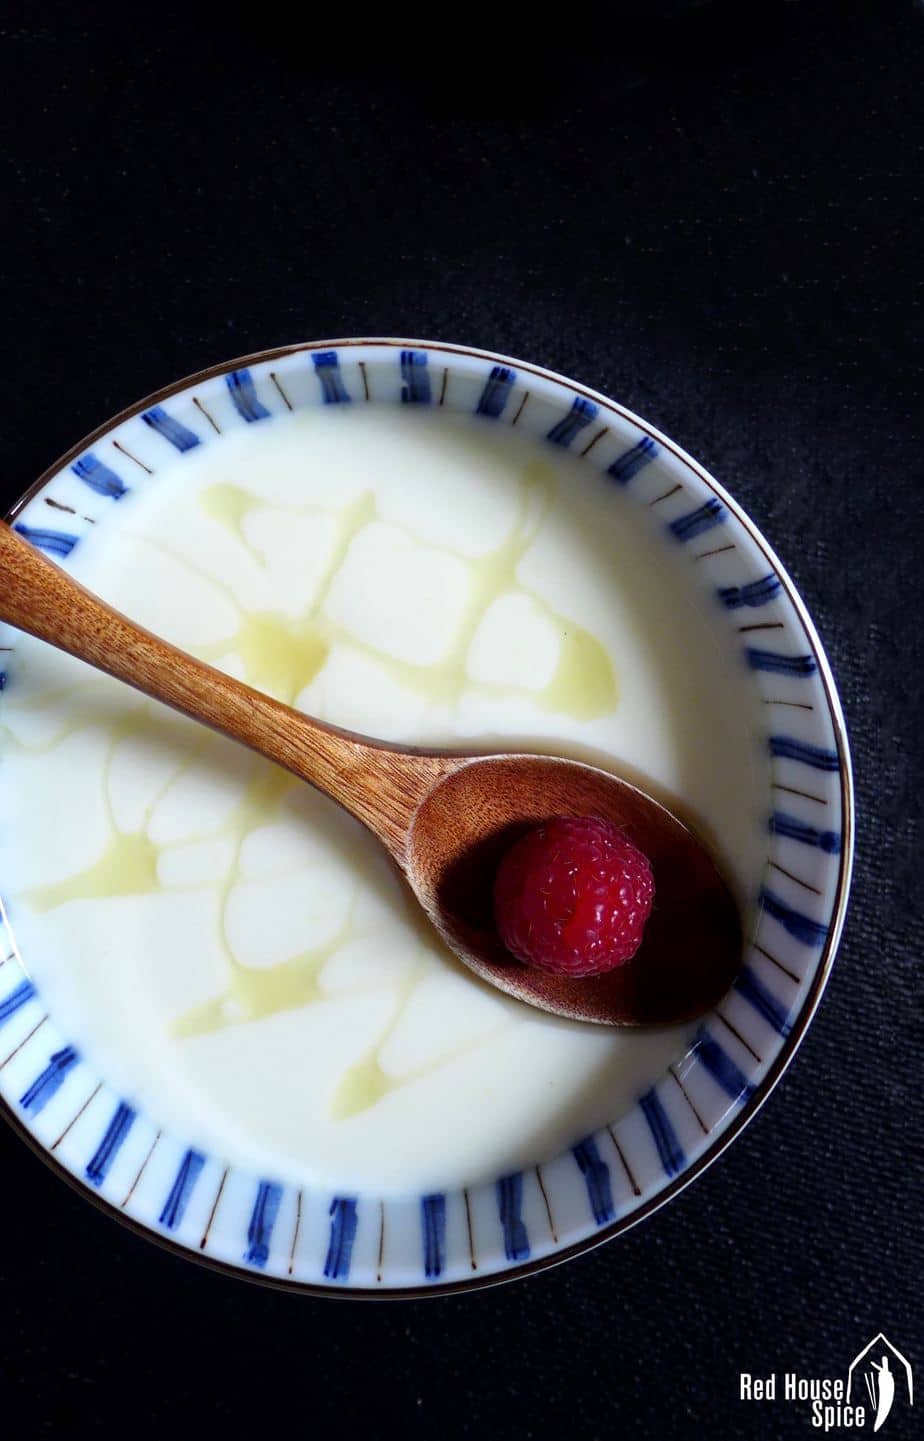
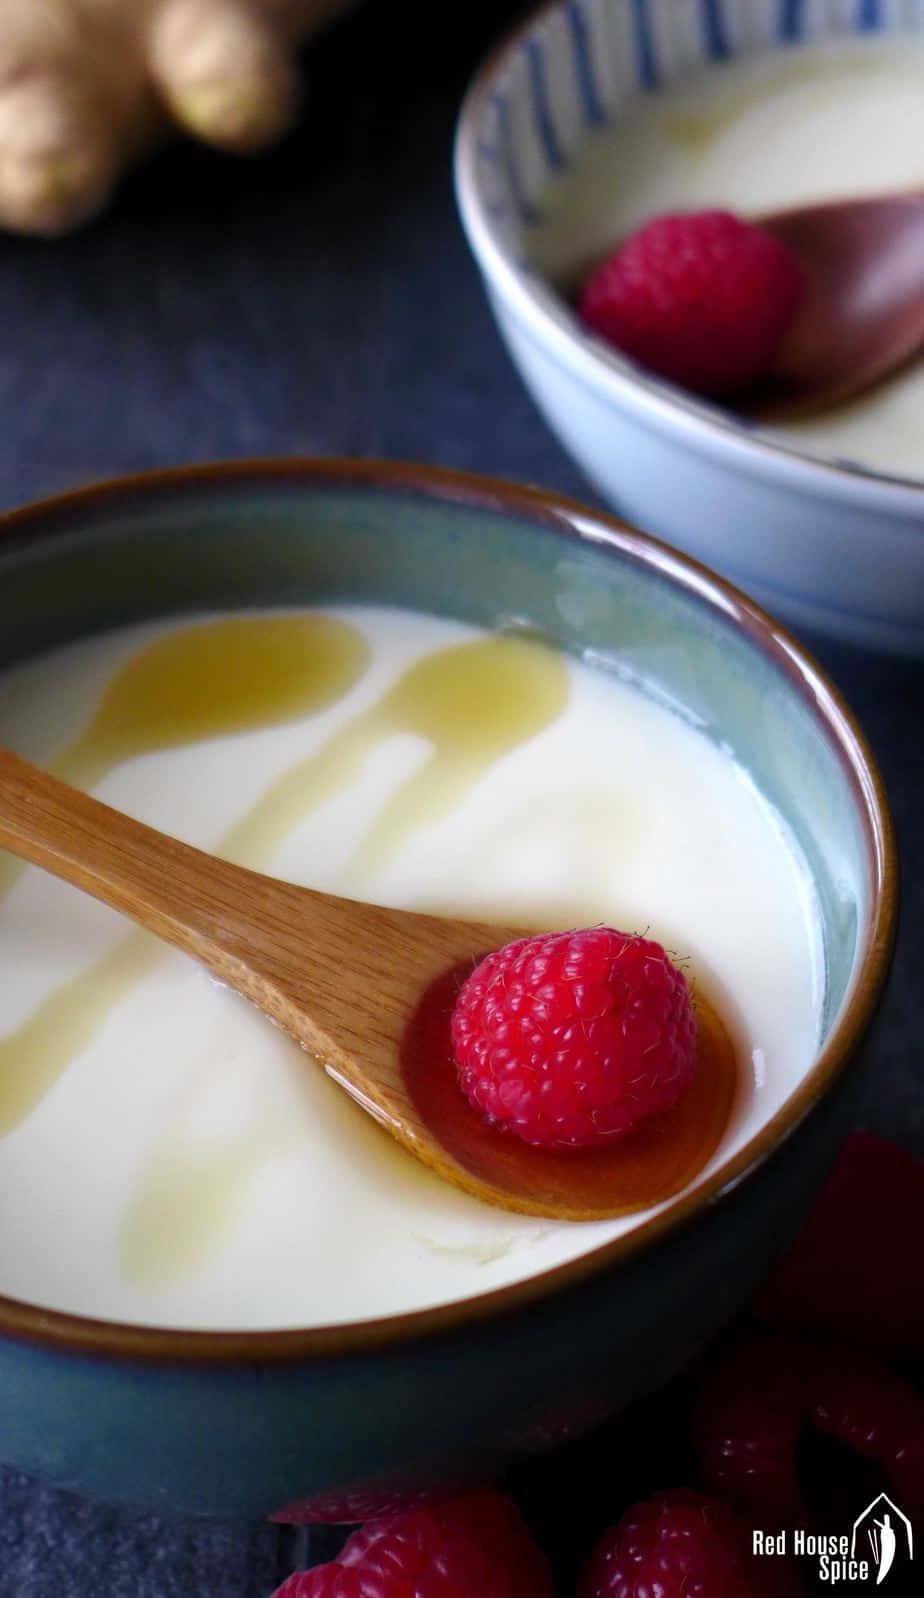
Pin ItA dessert with unusual flavour
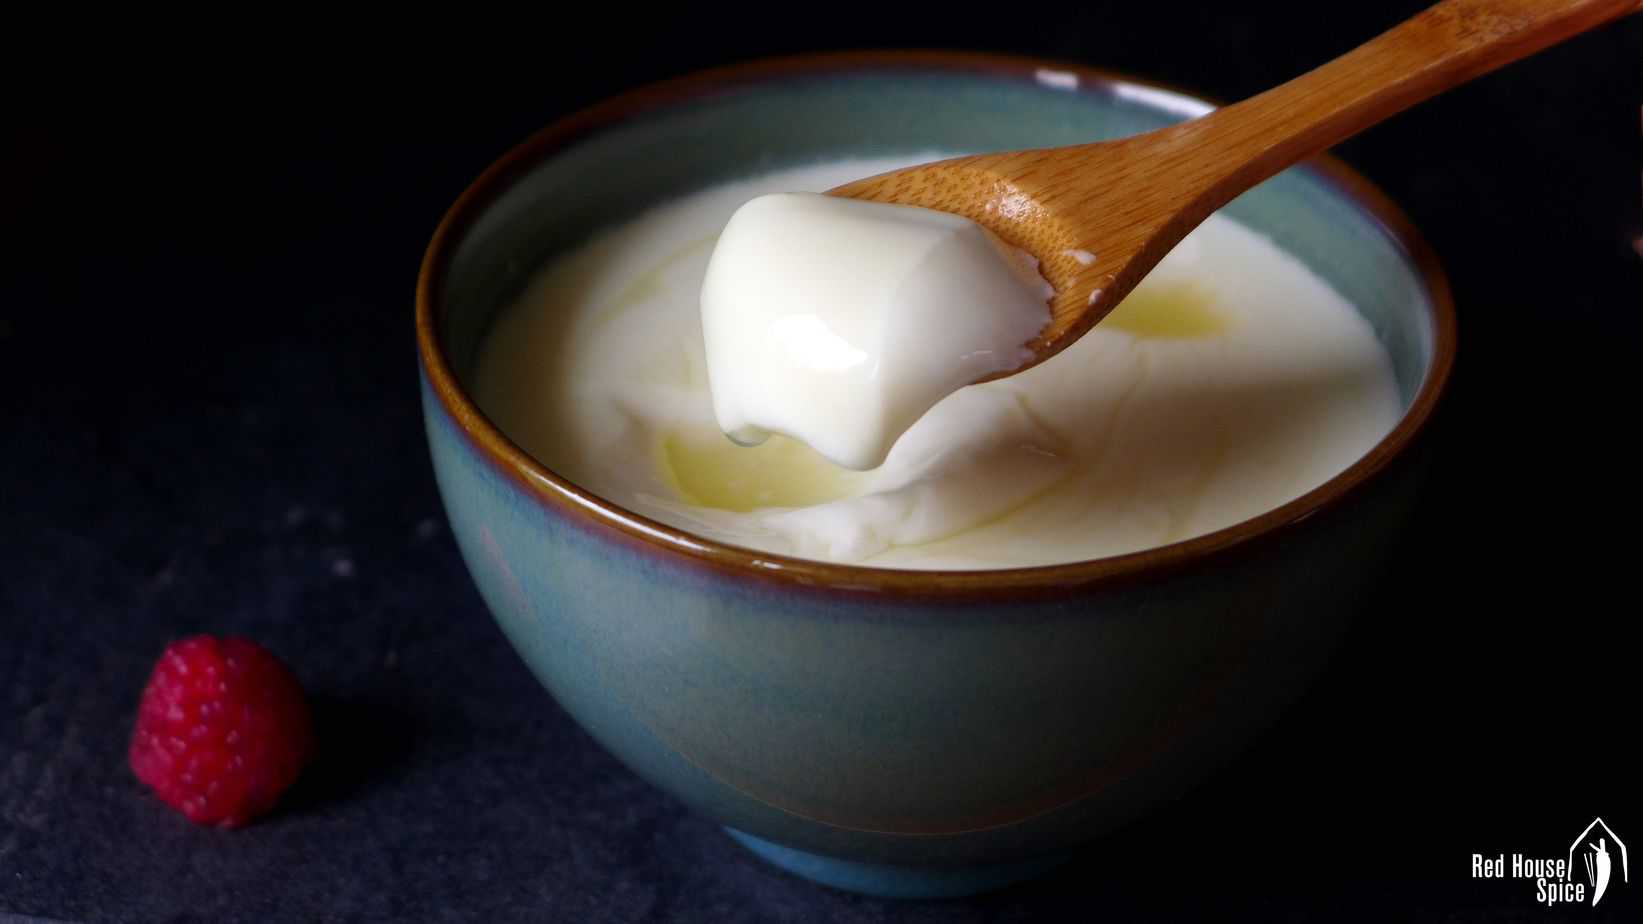
I fell in love with ginger milk curd “at first taste” years ago. Its unusual flavour combination and the silky, slippery texture was a new experience on my palate. I didn’t realize back then that it was so simple to make.
You only need ginger, milk and sugar, without using any curdling agent or any sophisticated culinary technique.
However, producing a curd with the right texture is a tricky business. Through trial and error, I’ve finally found a formula to make the perfect ginger milk curd.
A “magical” curdling process
Originating in Shawan town, Guangdong province in China, ginger milk curd (姜汁撞奶) is one of the most popular desserts in Cantonese cuisine. The literal meaning of its Chinese name is “ginger juice bumping into milk”. As the name suggests, you simply pour hot milk onto ginger juice, then you’ll have a bowl of curd. It’s rather magical, isn’t it? This is how Wikipedia explains its biochemical principle:
“Ginger contains the protease zingipain. When milk is added to ginger juice, this protease catalyses denaturation of the protein in the milk, changing it from a water-soluble form to a water-insoluble form, and leads to the formation of milk curd. ”
It was purely out of curiosity that I first tried to make this dessert. Unfortunately, I soon realized that I couldn’t always guarantee success. Sometimes I would end up with a bowl of lumpy milk or even just liquid. In order to find a fail-proof formula, I’ve done lots of research and kitchen experiments. Finally, I’ve found the solutions.
The best ratio of ginger juice, milk and sugar
Too much ginger juice will make the dessert too spicy to enjoy, then you will need quite a bit of sugar to balance the flavour. If the ginger juice is not enough, the curdling process won’t be triggered.
In my recipe, I use 1 tablespoon of ginger juice for 200ml milk. This way the curd is firm enough and the spiciness is compensated with 2 teaspoons of sugar.
It creates an ideal taste for me personally (like most Chinese, I don’t have a sweet tooth). If you like it sweeter, I suggest pouring a little honey over the curd as ginger and honey is a classic flavour combination.
The optimum temperature for the milk
I’ve found many recipes with vague instructions: “the milk is hot to touch with your tongue but won’t burn you”, “heat up the milk until it almost boils”, “the milk should be at 70-80°C”, etc. It doesn’t always work when following those recipes. Eventually, I bought a kitchen thermometer (that was £2.99 well spent) to experiment. 70°C/158°F appeared to be the right answer.
Apart from heating the milk on a stove, I also tried using a microwave. For an 800-watt microwave like mine, you need 1 minute and 40 seconds to heat the milk (chilled) to an ideal temperature (add the sugar halfway through). If your microwave has a different wattage, please see the conversion suggestion in recipe note.
Volià! That’s it! To me, cooking is an art. However, my ginger milk curd experiments remind me that it’s also a scientific endeavour.
Fail-proof ginger milk curd (姜汁撞奶)

Ingredients
- 1 tablespoon ginger juice, from about 30g ginger
- 200 ml fresh milk, see note 1
- 2 teaspoon sugar
- Honey and fresh berries, optional
Instructions
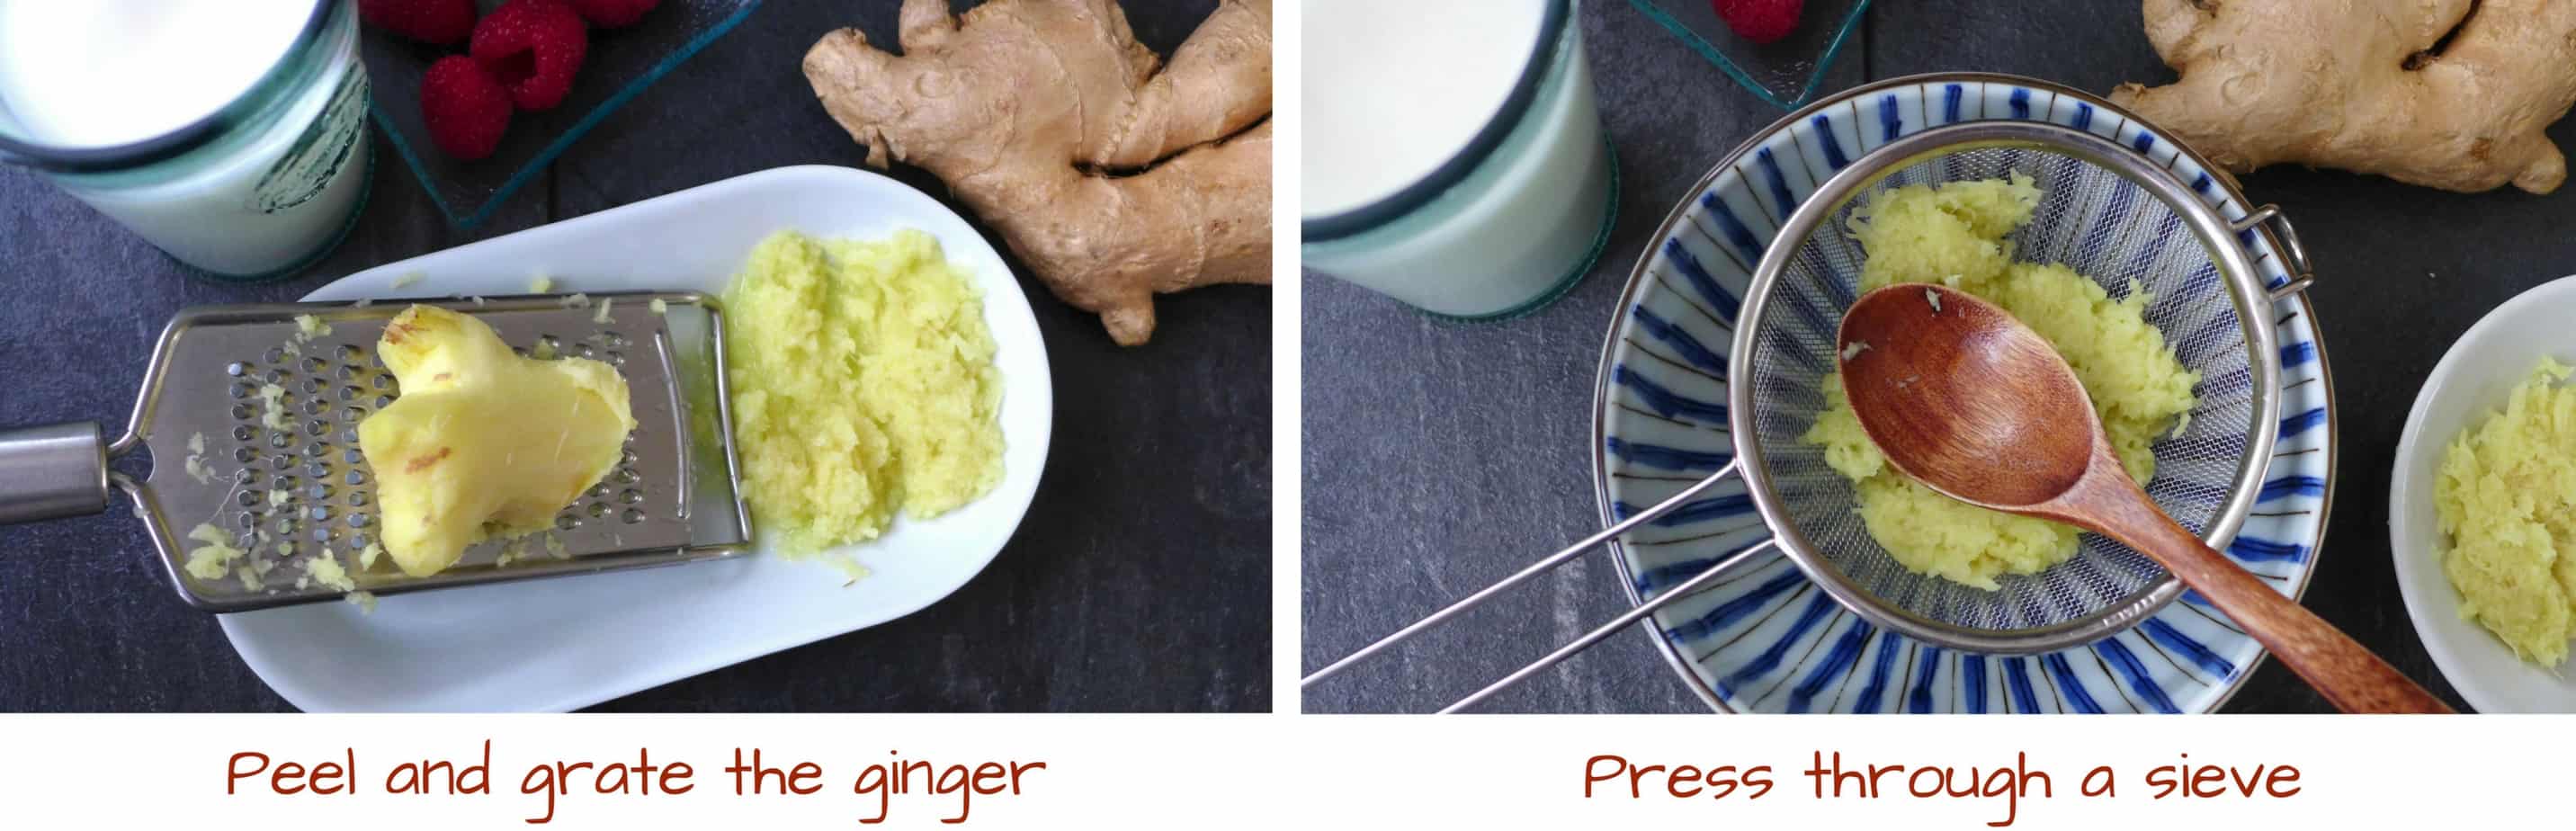
Prepare the ginger juice
- Peel and finely grate the ginger. Press grated ginger through a sieve placed on top of a small bowl. You need to get about 1 tablespoon of ginger juice.
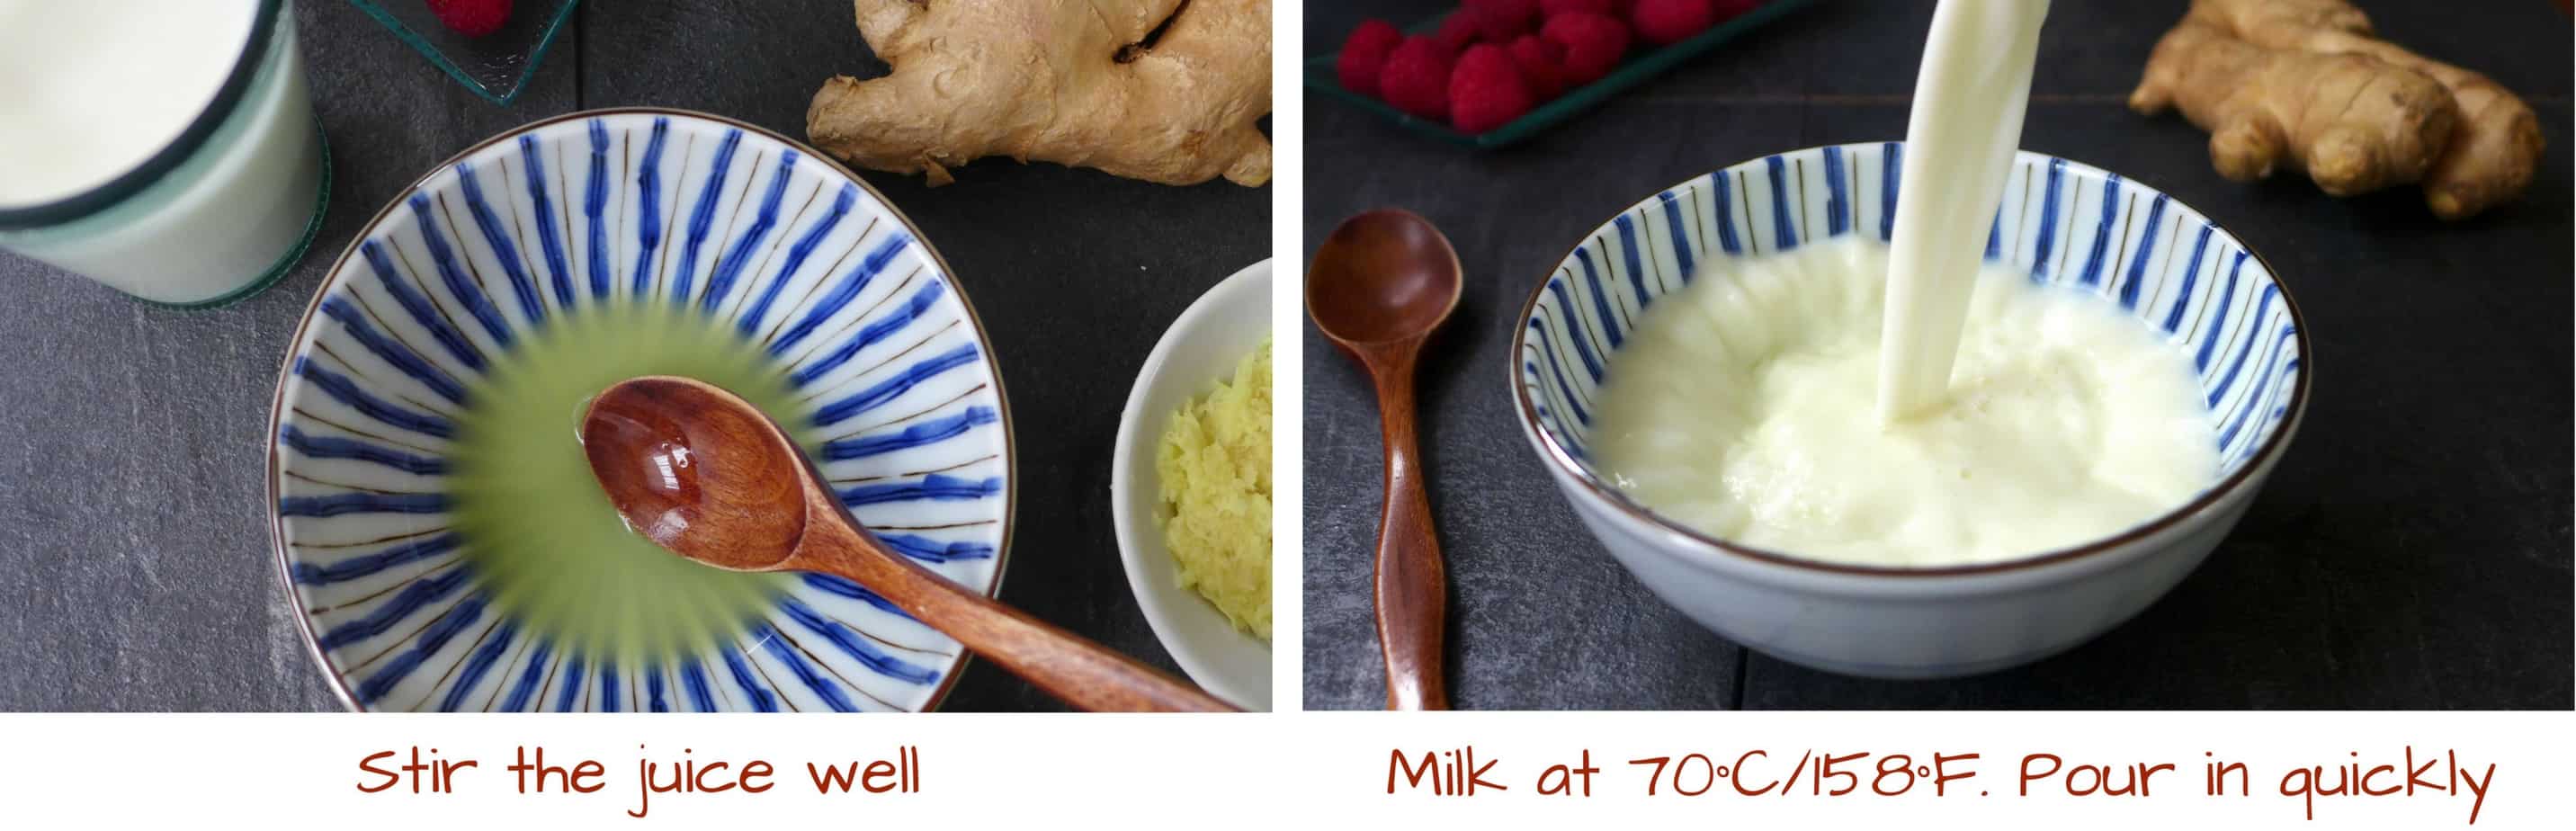
Heat up the milk
- Option A: If you have a kitchen thermometerHeat the milk in a saucepan. Stir in sugar when milk is warm. Closely observe the temperature on the thermometer. When it reaches 70°C/158°F, remove the pan from the heat.
- Option B: If you have a microwaveHeat chilled milk (out of the fridge right before using) in a container on full power (800-watt, see note 2 for power conversion) for 1 minute. Take it out and stir in the sugar. Then microwave for a further 40 seconds.
Make the curd
- When the milk is ready, stir the ginger juice with a spoon. Pour the milk quickly onto the juice.
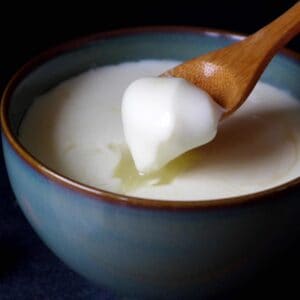
- Leave to set. Do not move the bowl or stir the milk. The curd will be fully set in about 10 minutes.
Serve the curd
- You may serve it warm (traditional way) or cold (what I prefer). If you wish, pour a little honey on top and decorate with fresh berries before serving.
Notes
Your Recipe Notes
Nutrition
Nutrition information is automatically calculated, so should only be used as an approximation.


Thank you for the easy to follow recipe! Made some today and it was delicious!
That’s wonderful to hear!
Looks great! Can I freeze it? Will the texture be ok after defrosting?
I’ve never tried freezing it. So I’m not sure about the result.
I made it with a thermometer. Very good with honey and without too!
A thermometer definitely helps! Glad you enjoyed it Milja.
Could you use almond milk or soy milk for a vegan version?
Almond milk/soy milk wouldn’t work for this recipe.
I made this today (3 servings) but it ended up so watery even after waiting for 30 minutes. The top was ok but the rest of the curd was way too watery. I used toned milk, could that be the problem?
Hi Abbie, I’ve never used toned milk so I’m not sure if it has caused the problem.
you can get still more juice from the grated ginger with a (preferably brand new ) garlic crusher . I got about 30% more juice from the already spoon pressed ginger. came across this recipe in the New Scientist now I know where to find more recipes. Thanks…I’d write more but I think ten minutes is up and I’m going try my first attempt.
When/ how do you add the 2 tsp sugar?
Please see instructions in the recipe card above under the section “Heat up the milk“
I love this! It turned out pretty well for first time, if not as firm as it might have. I’d like to heat the milk in microwave but I don’t know what wattage mine is and can’t find anything on it. Does anyone have an easy way to press the juice? Grating it and pressing hurts my arthritic fingers! Thanks for this great recipe.
Glad you’ve enjoyed it Lenore! Yes, it takes some effort to get the juice out. Apart from grater, I sometimes use a garlic presser.
Great recipe, worked the first time (I used a thermometer for the milk) and set very quickly. I prepared it almost two hours in advance, and it had a hint of a slightly bitter aftertaste. Next time I will try to serve when it is still warm. Did anyone ever notice a bitter taste developing after some time?
I always have it with a little honey so I didn’t notice the bitterness.
Did not set first try. Measured out precisely and heated to 70C. Used whole milk. Waited 15min. Reheated the first batch in the microwave for 55 sec (1,000 watt) and it boiled and curdled into tiny curds like egg drop soup.
Second try heated milk to 80C. Did not set. Reheated in the microwave for 20 secs, making sure not to let it boil, just until the edges visibly set and has tiny bubbles. Waited 10mins. Finally set! It’s not as pretty but it did the job. I’m not sure why I got such different results. Tasted very comforting. Thank you!
Thank you Jade for sharing your experience!